It’s been 2 months since my last blog post for good reason because as you may remember from my last post, we moved to a new state and into our forever house we had built! My husband retired and we moved back to Iowa to be near family the beginning of May. Since May, we’ve been unpacking boxes, moving furniture around, watering to try to grow grass, and customizing the closets for our various needs. The closets are finally done, thanks to my husband’s handiwork, salvaged wood that was part of my parents house that used to be on the property, some IKEA bookcases, and some creative thinking.
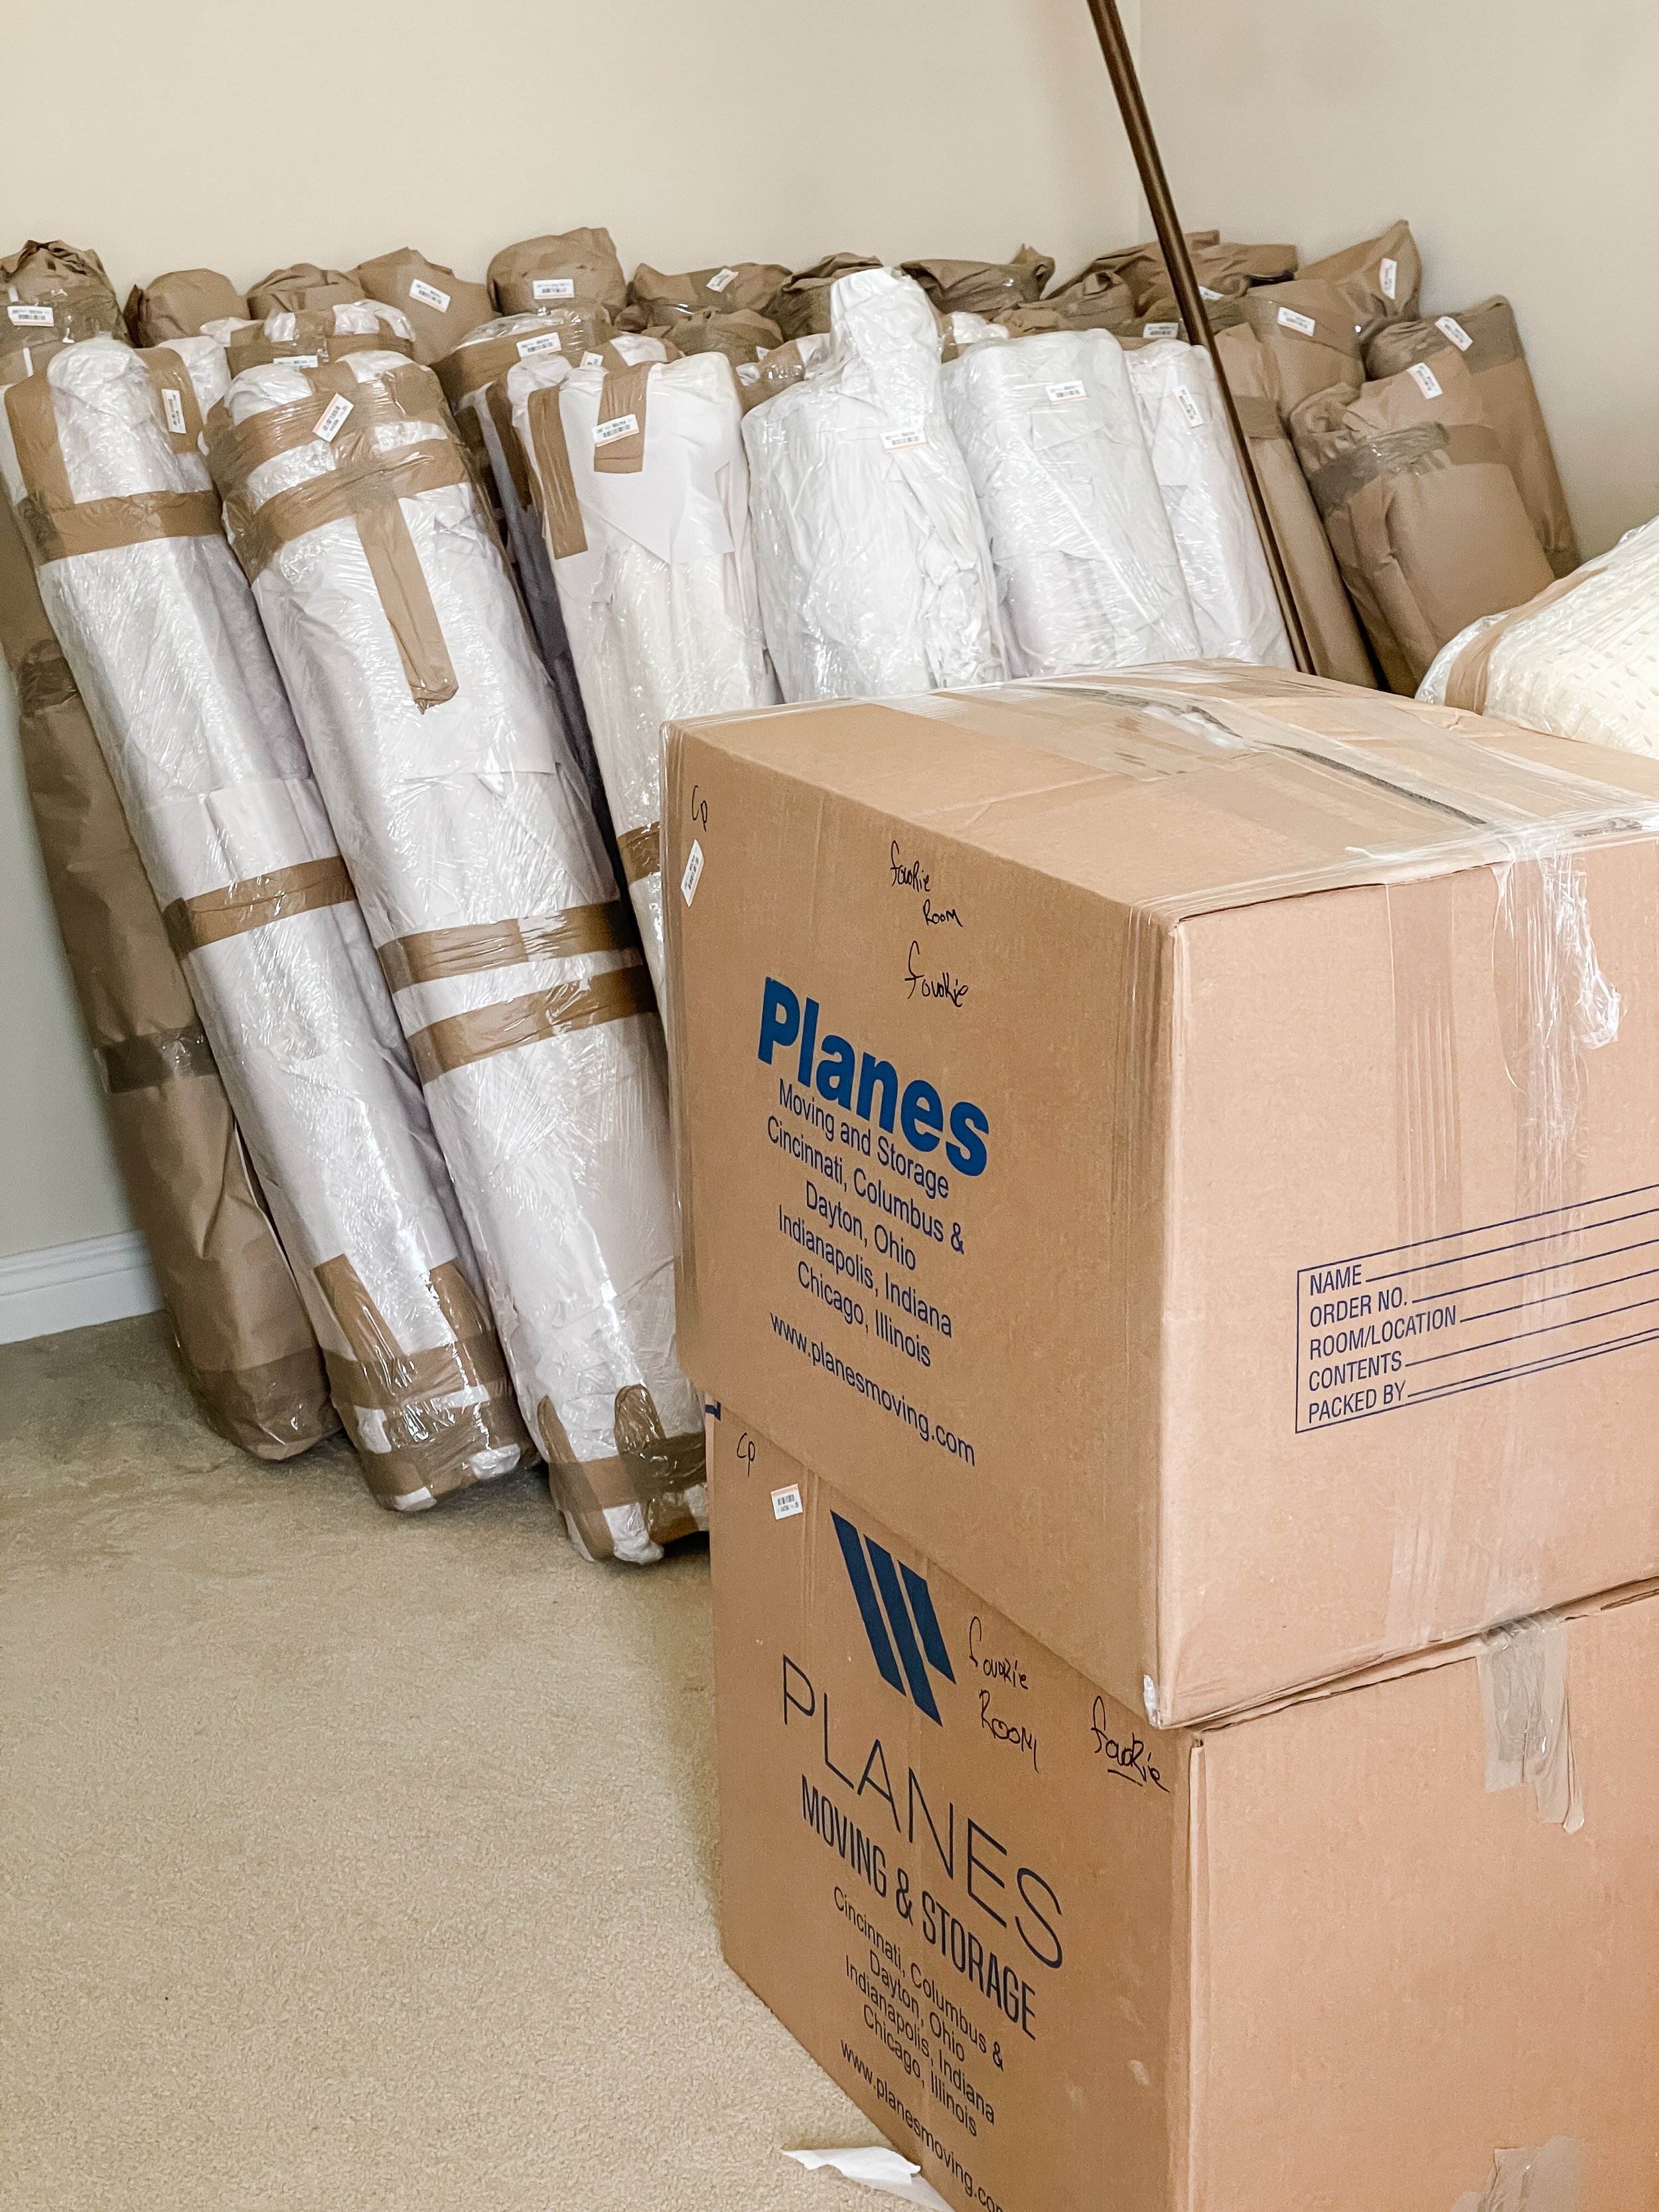
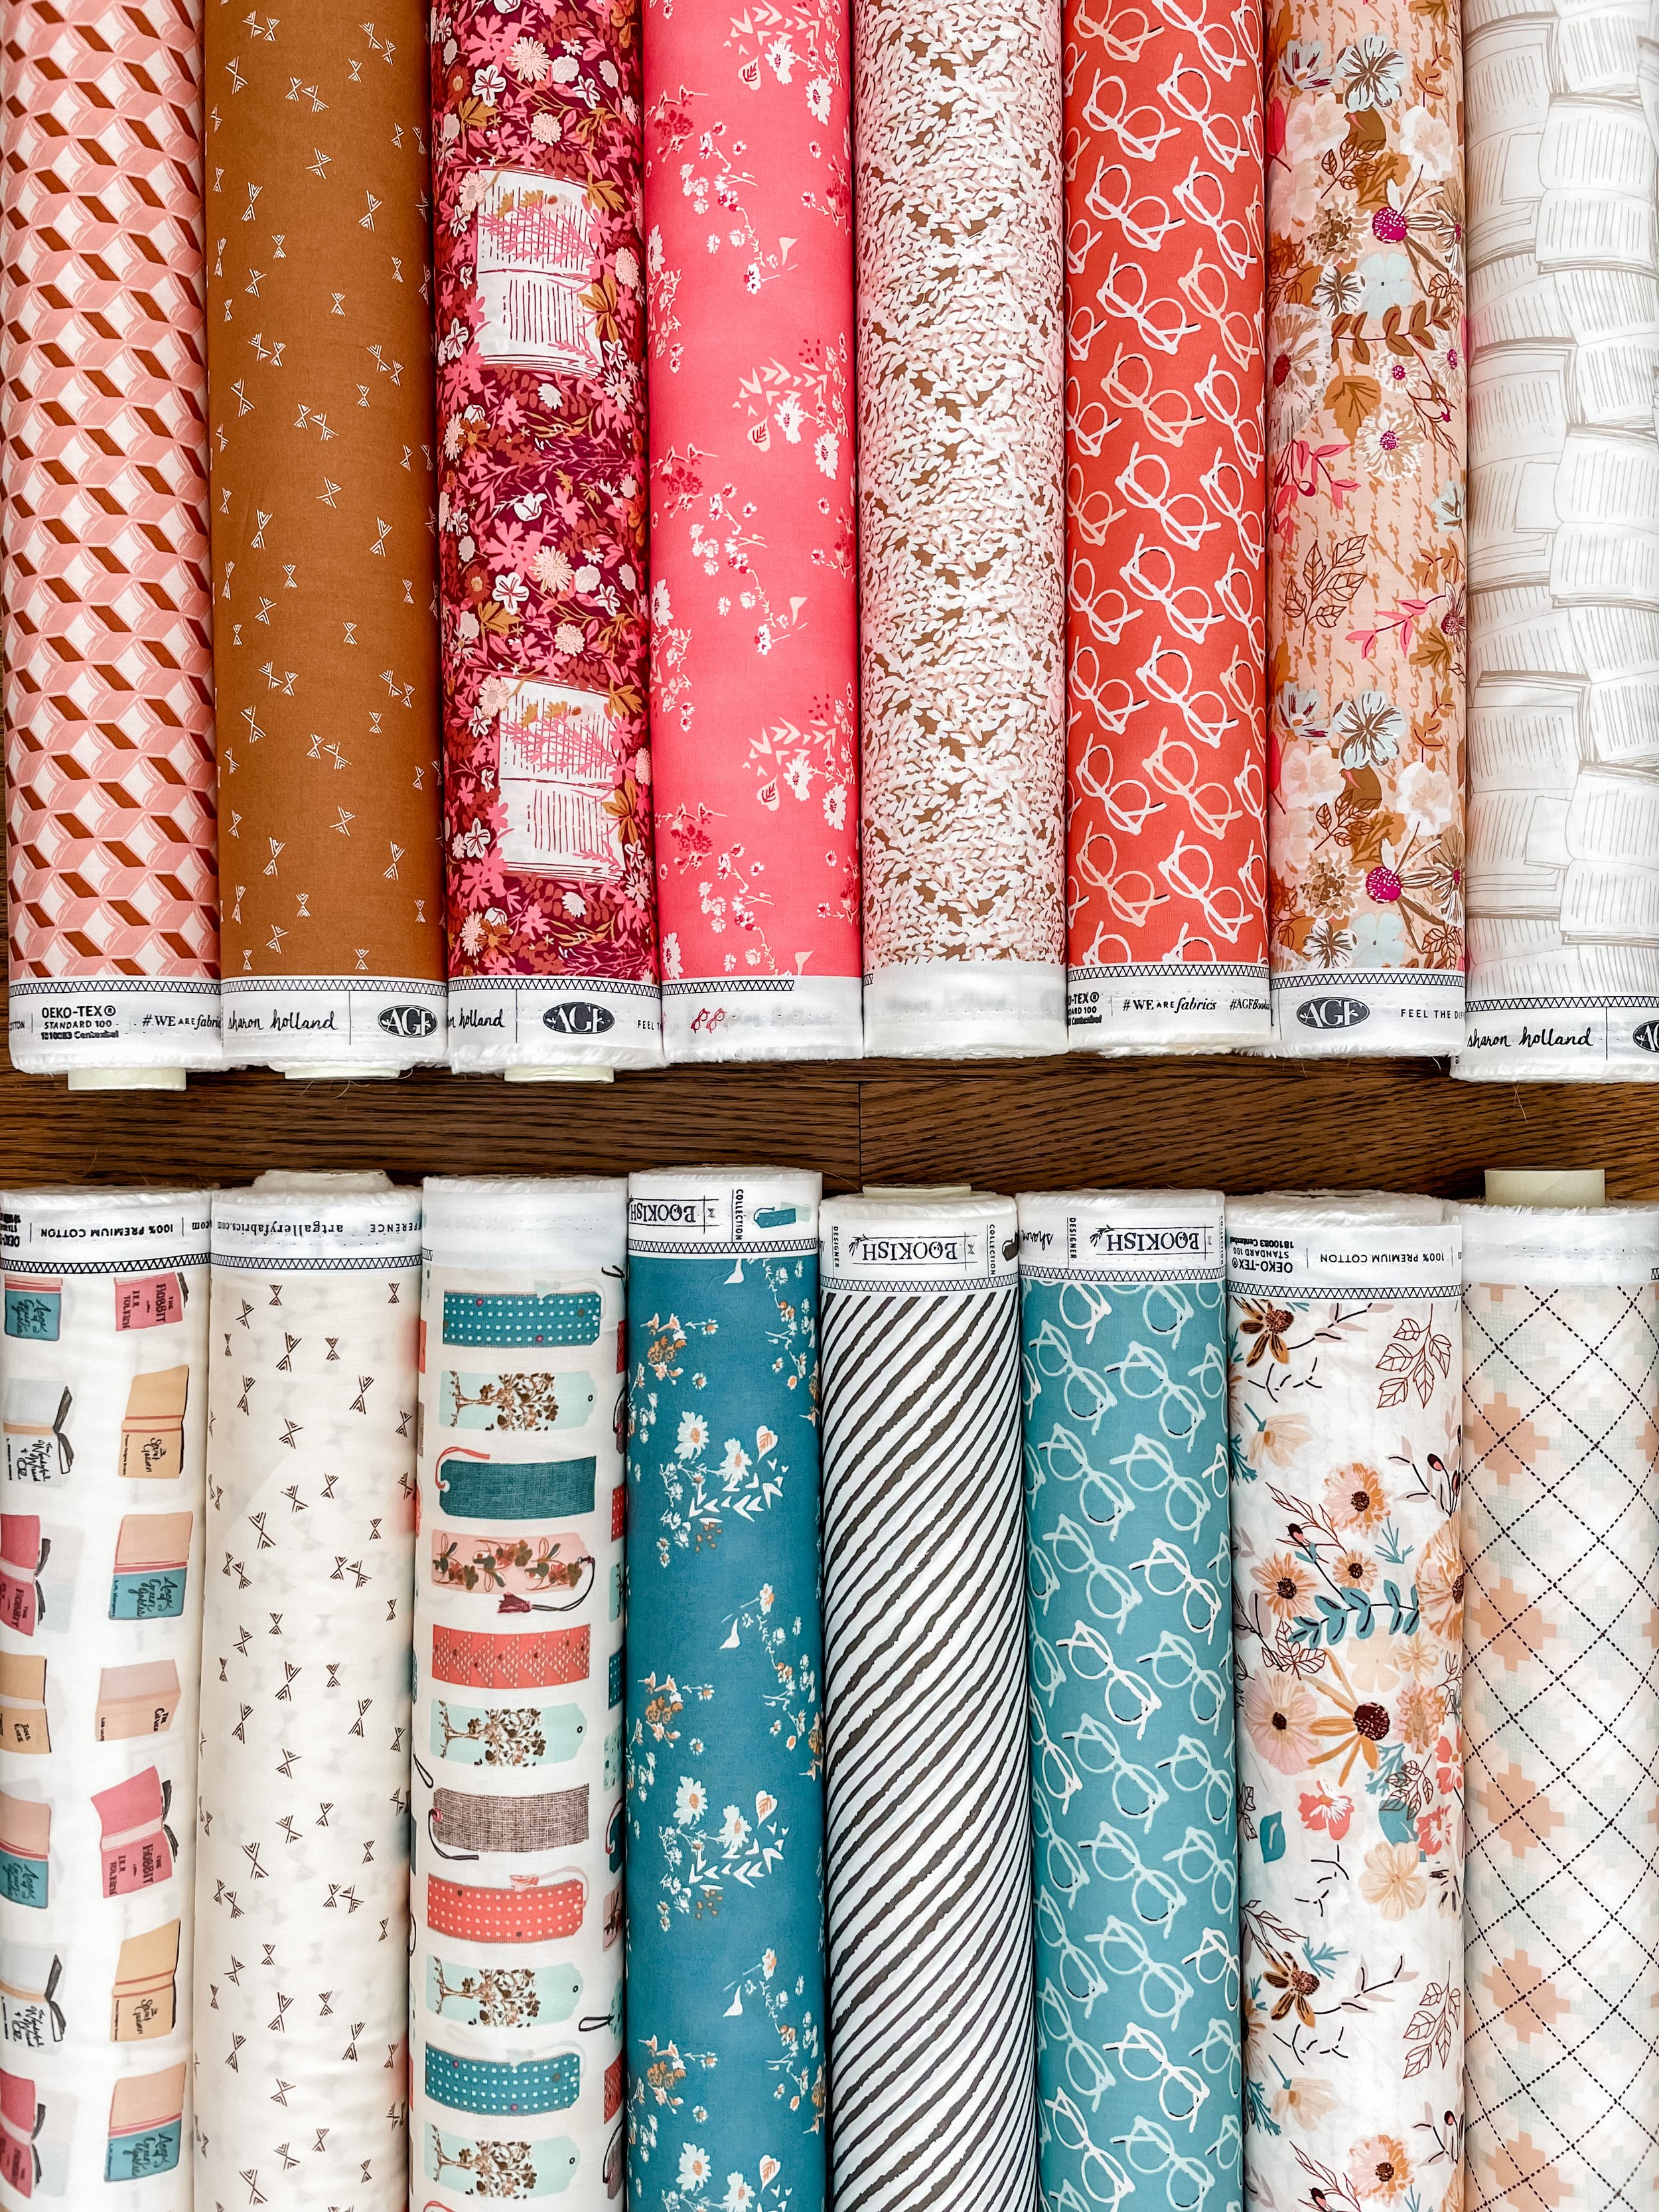
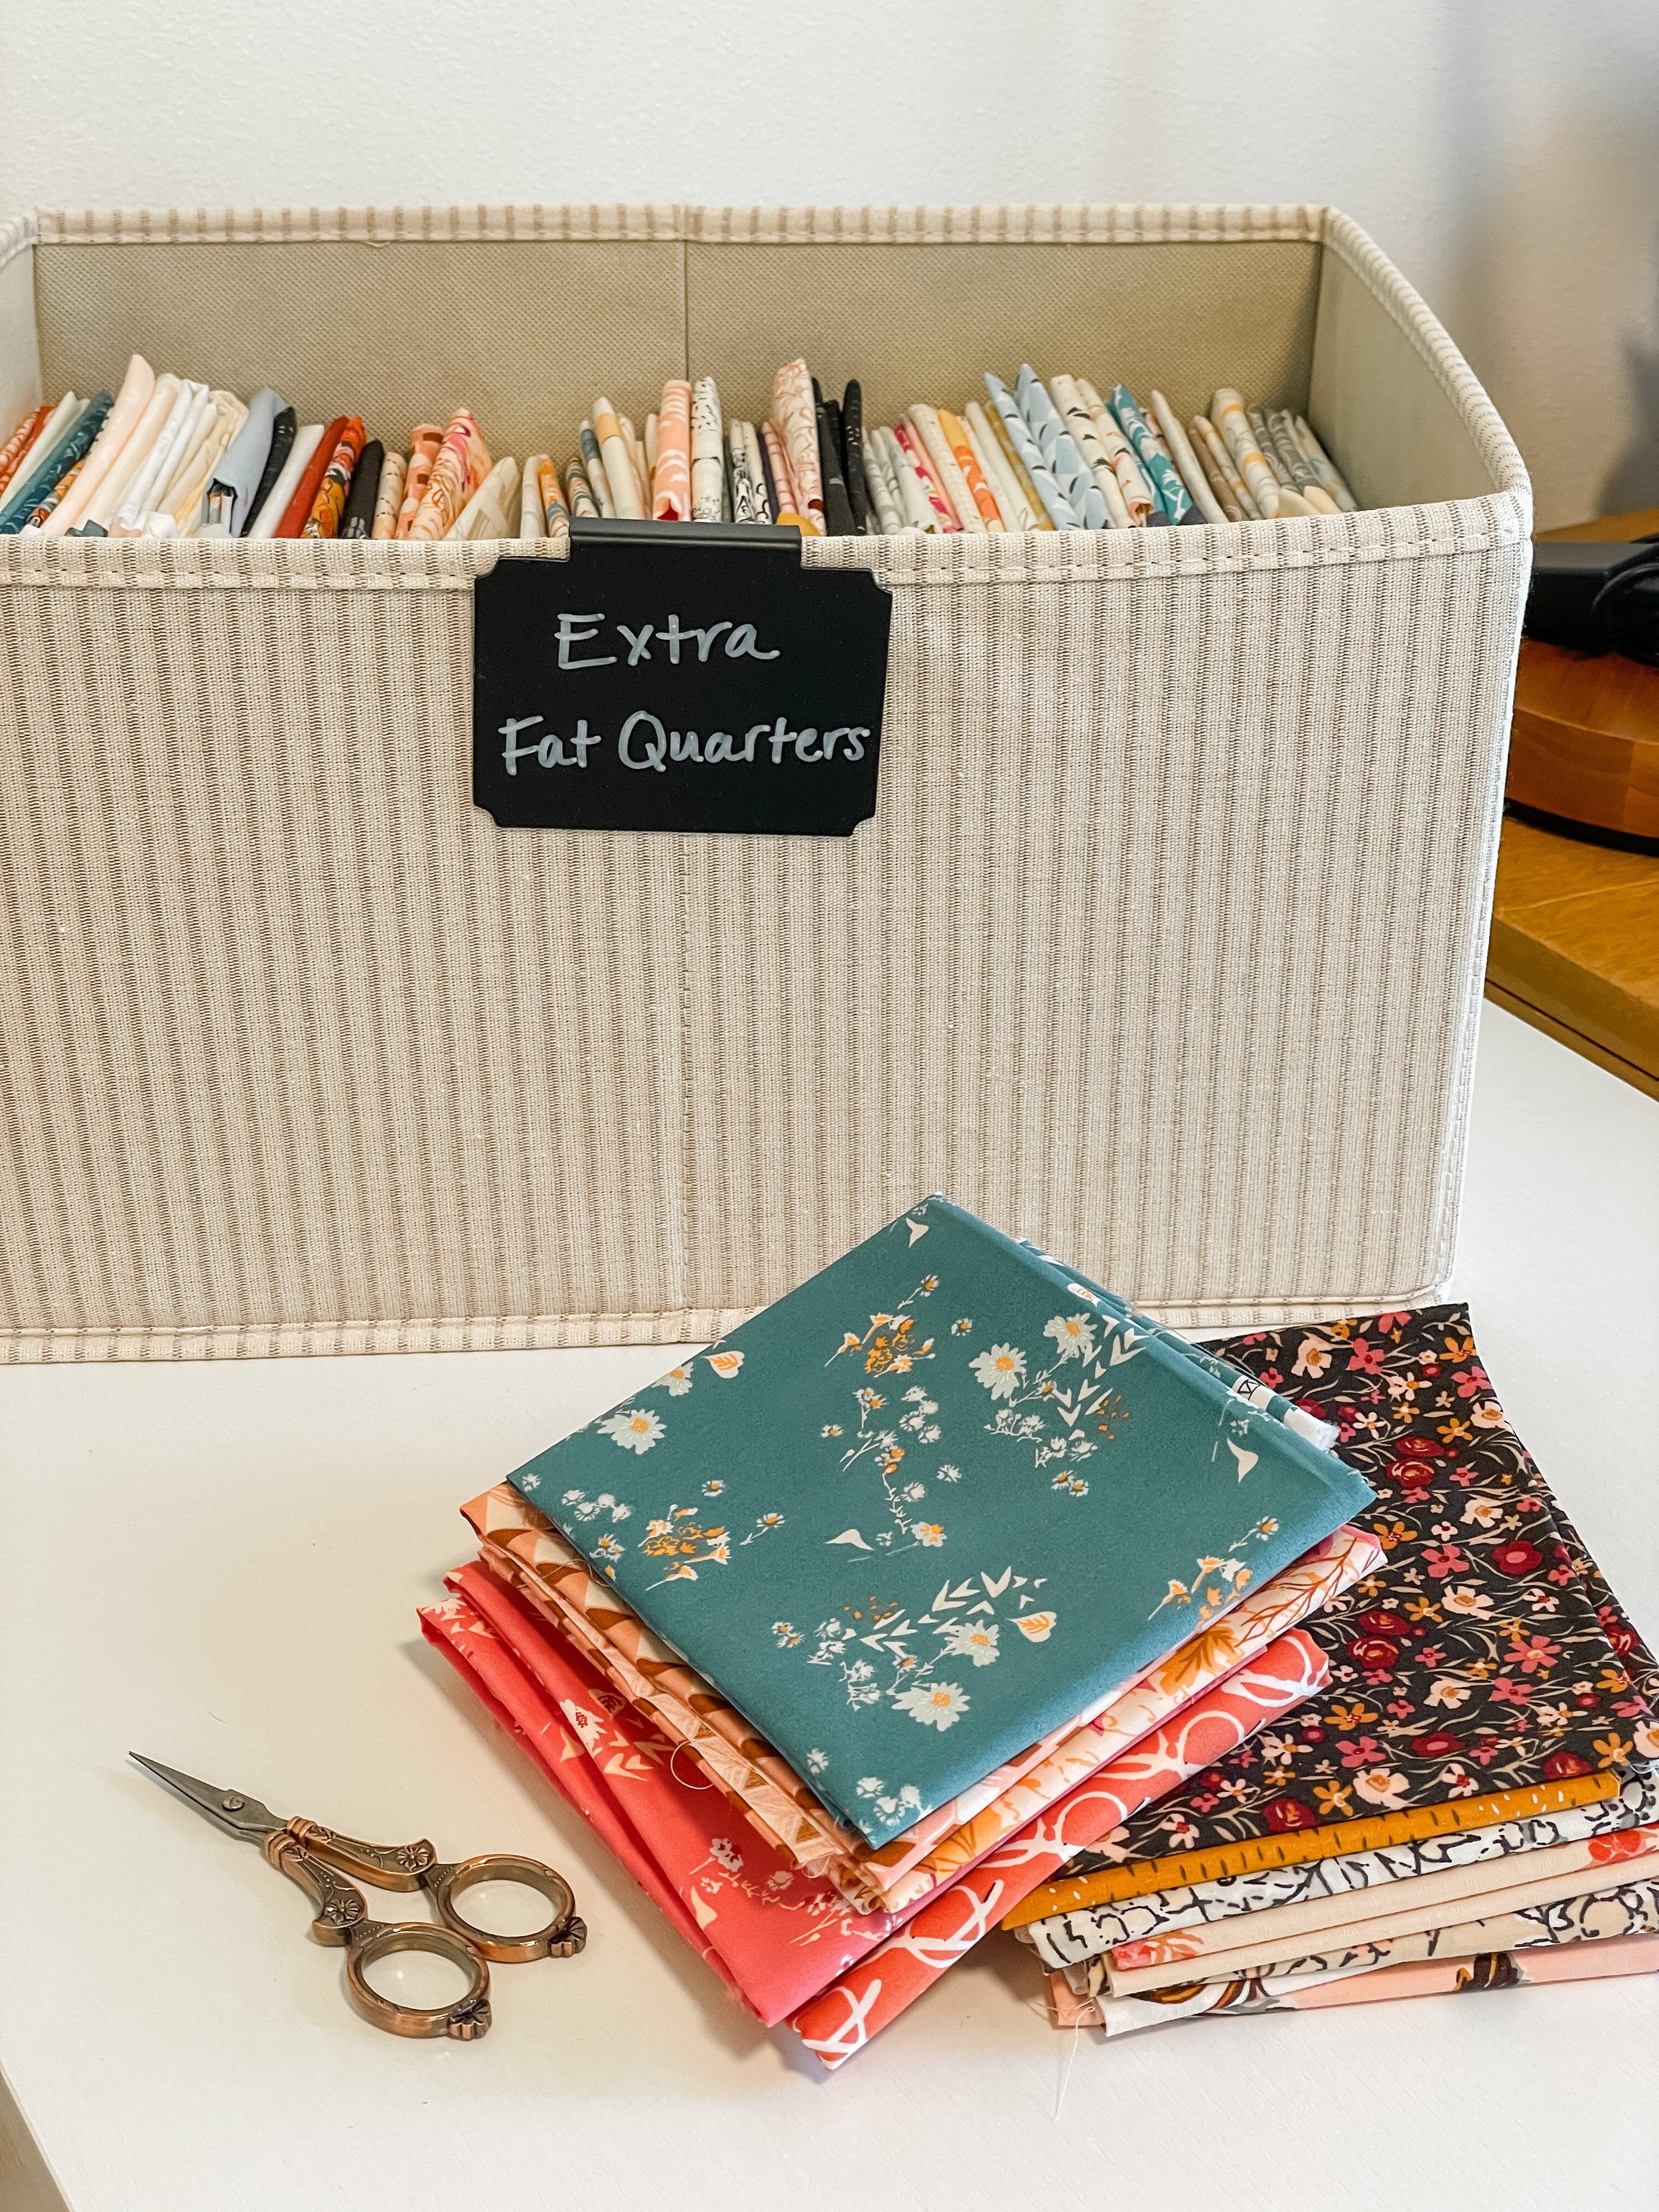
The perks of being a fabric designer means I get a bolt of every fabric I create. The down side of that is, I have a bolt of every fabric I’ve ever created and am running out of storage places for them! Most of my fabric is on rolls rather than bolts and rolls pose and even trickier challenge for storage. The photo above is just a drop in the bucket to the rolls the movers needed to wrap and haul. We estimated the amount of fabric moved from Ohio to Iowa was around 1,500 pounds of fabric!
Our new house is a ranch and a downsize from my previous traditional two-story so I lost some closet space and bigger rooms. I had to split up my photography and sewing stuff into different areas and am now utilizing closets space between the main and lower levels. I prioritized between current fabric collections and stuff I wasn’t going to be needing on an everyday basis. I even have a main floor guest room closet dedicated to just photography props and a basement guest closet with out of print rolls and quilts. I’m still wrapping my head around this compartmentalization of my stuff but I think in the long run it will make life easier—once I remember where I stashed everything!
Guest room photography prop closet storage
We had told our builder not to install any closet shelving, so upon moving in it took us extra long to unpack because we wanted to create the type of closet storage for how we’d use our closets. For me, it’s more important I had shelves rather than for hanging clothes. We’d salvaged the wood shelving my dad had made for the closets in my childhood home and reused them for our new closest. Where we ran out of materials, my husband bought glued pine boards (so we could get the width we wanted) and I stained and sealed them as you can see in the photography prop closet above. I love wood shelving and can load those babies up in the 9 foot ceiling closet!
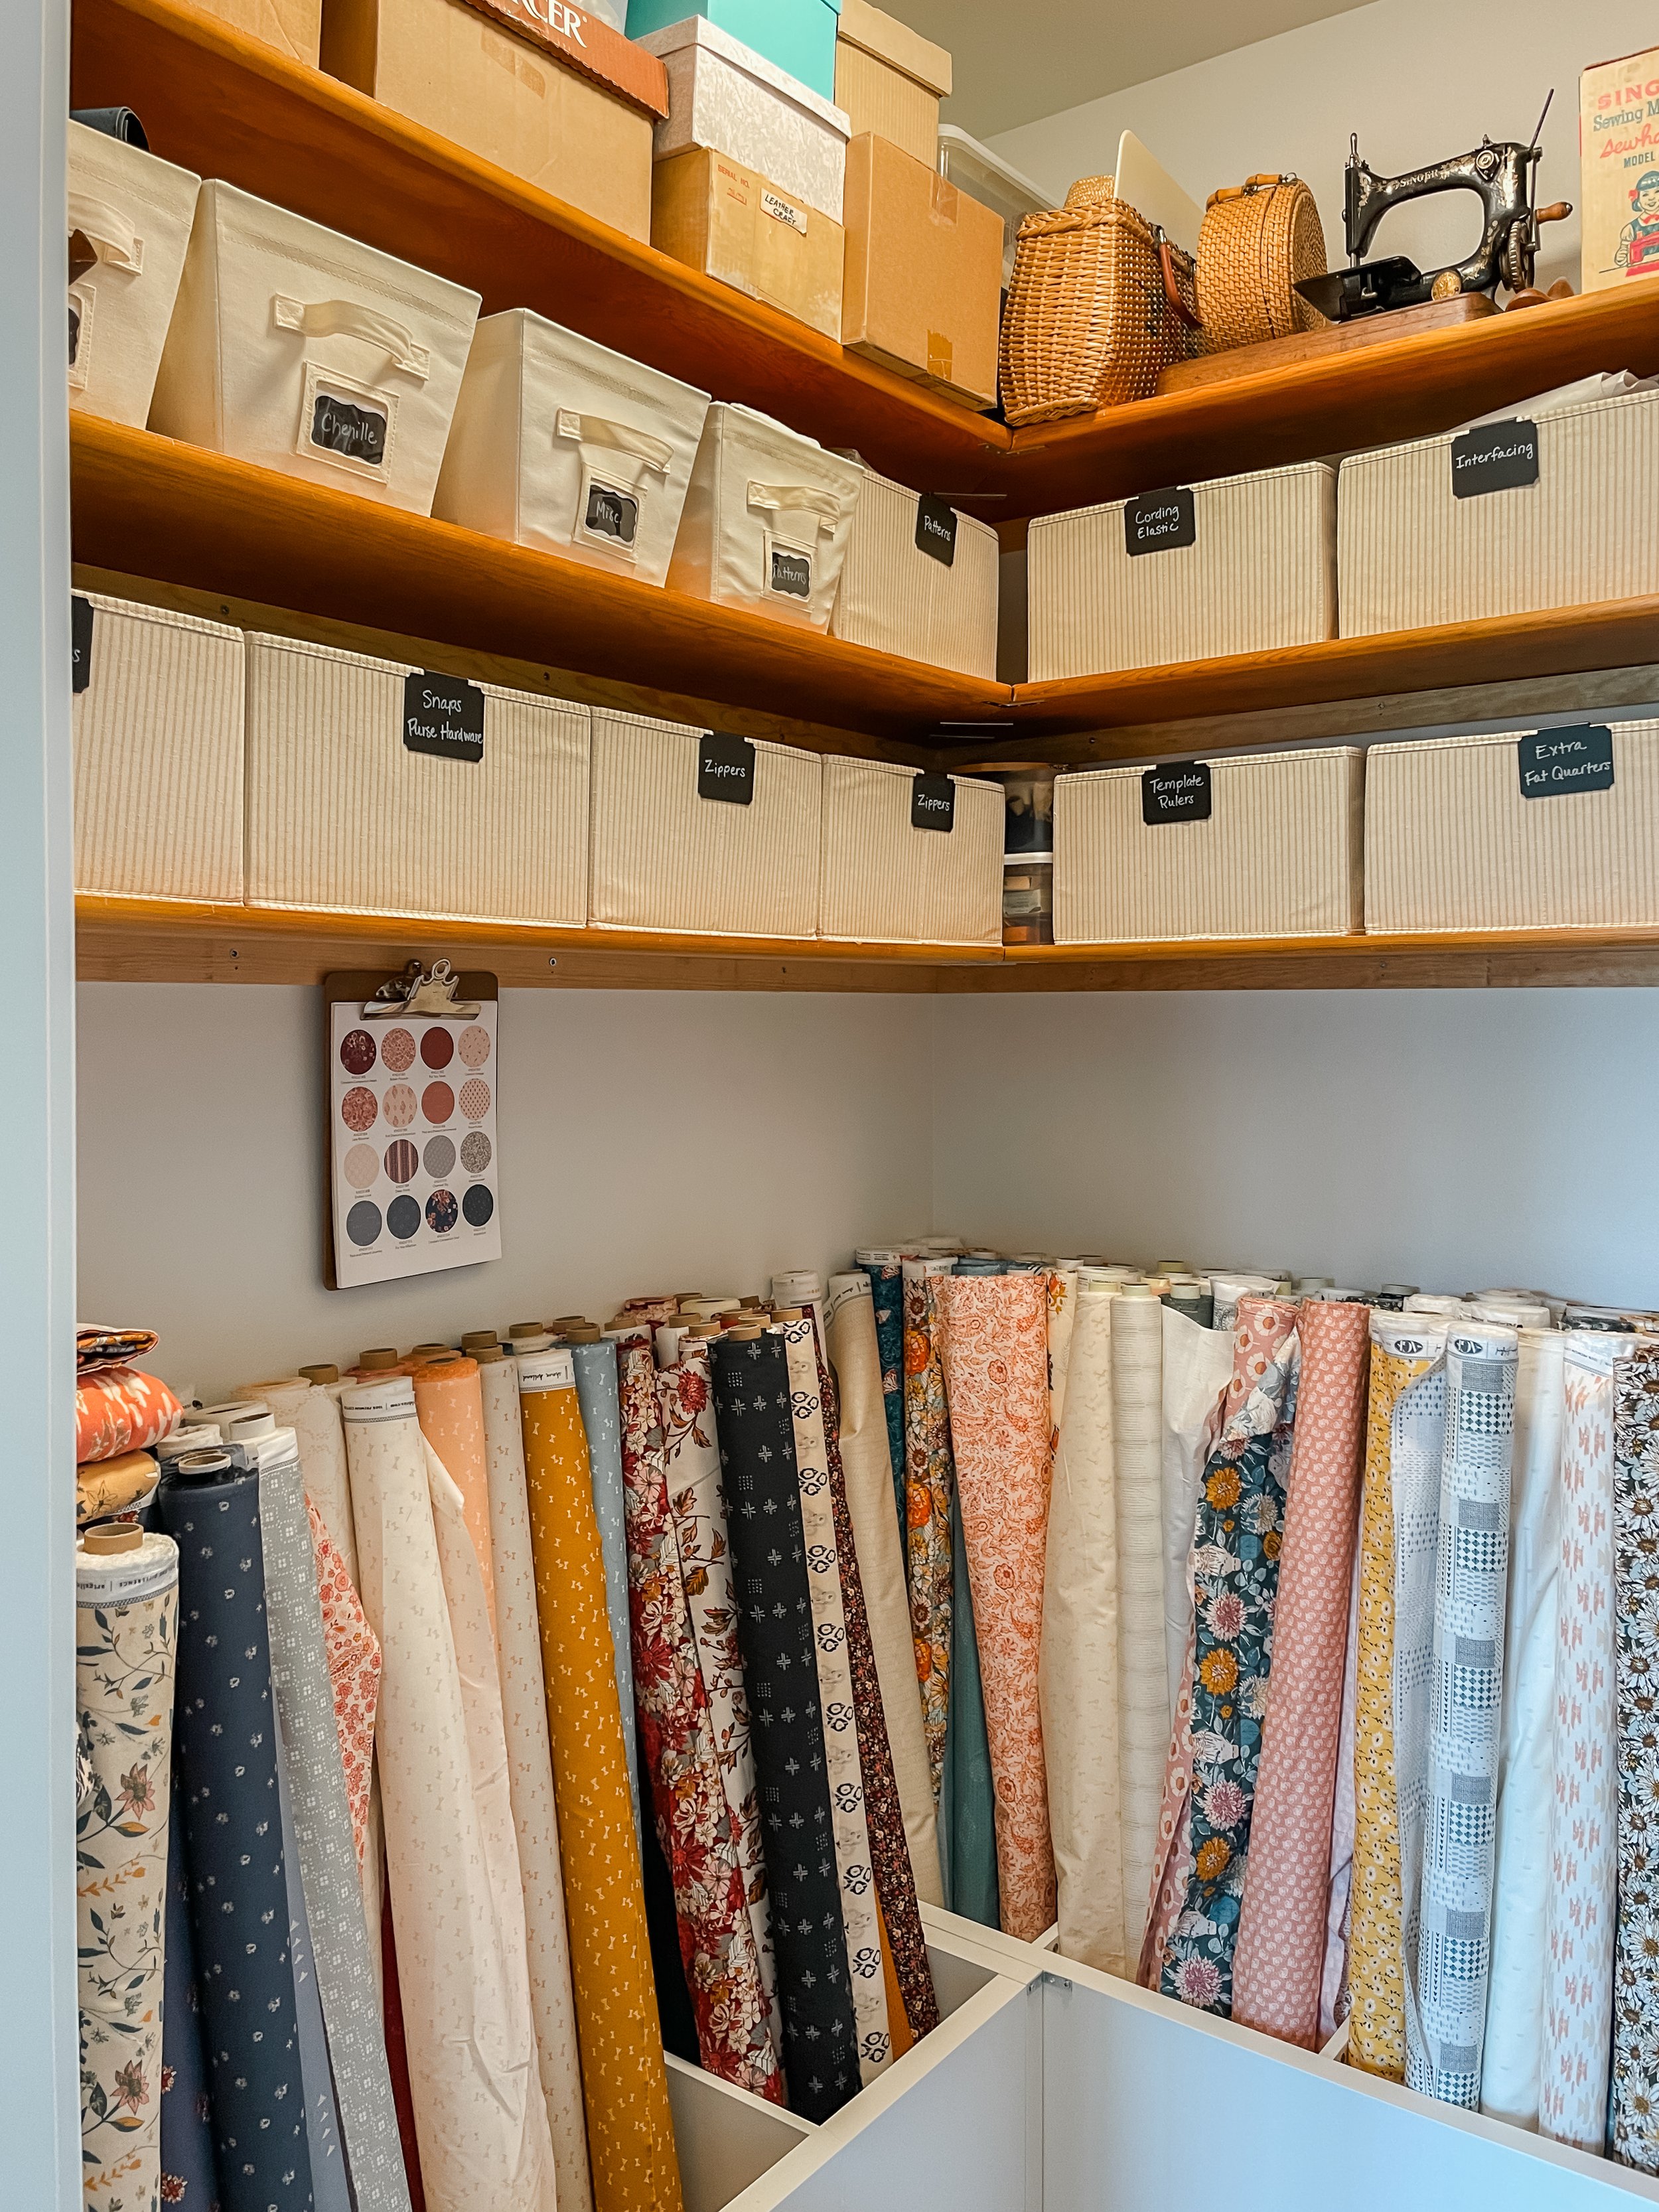
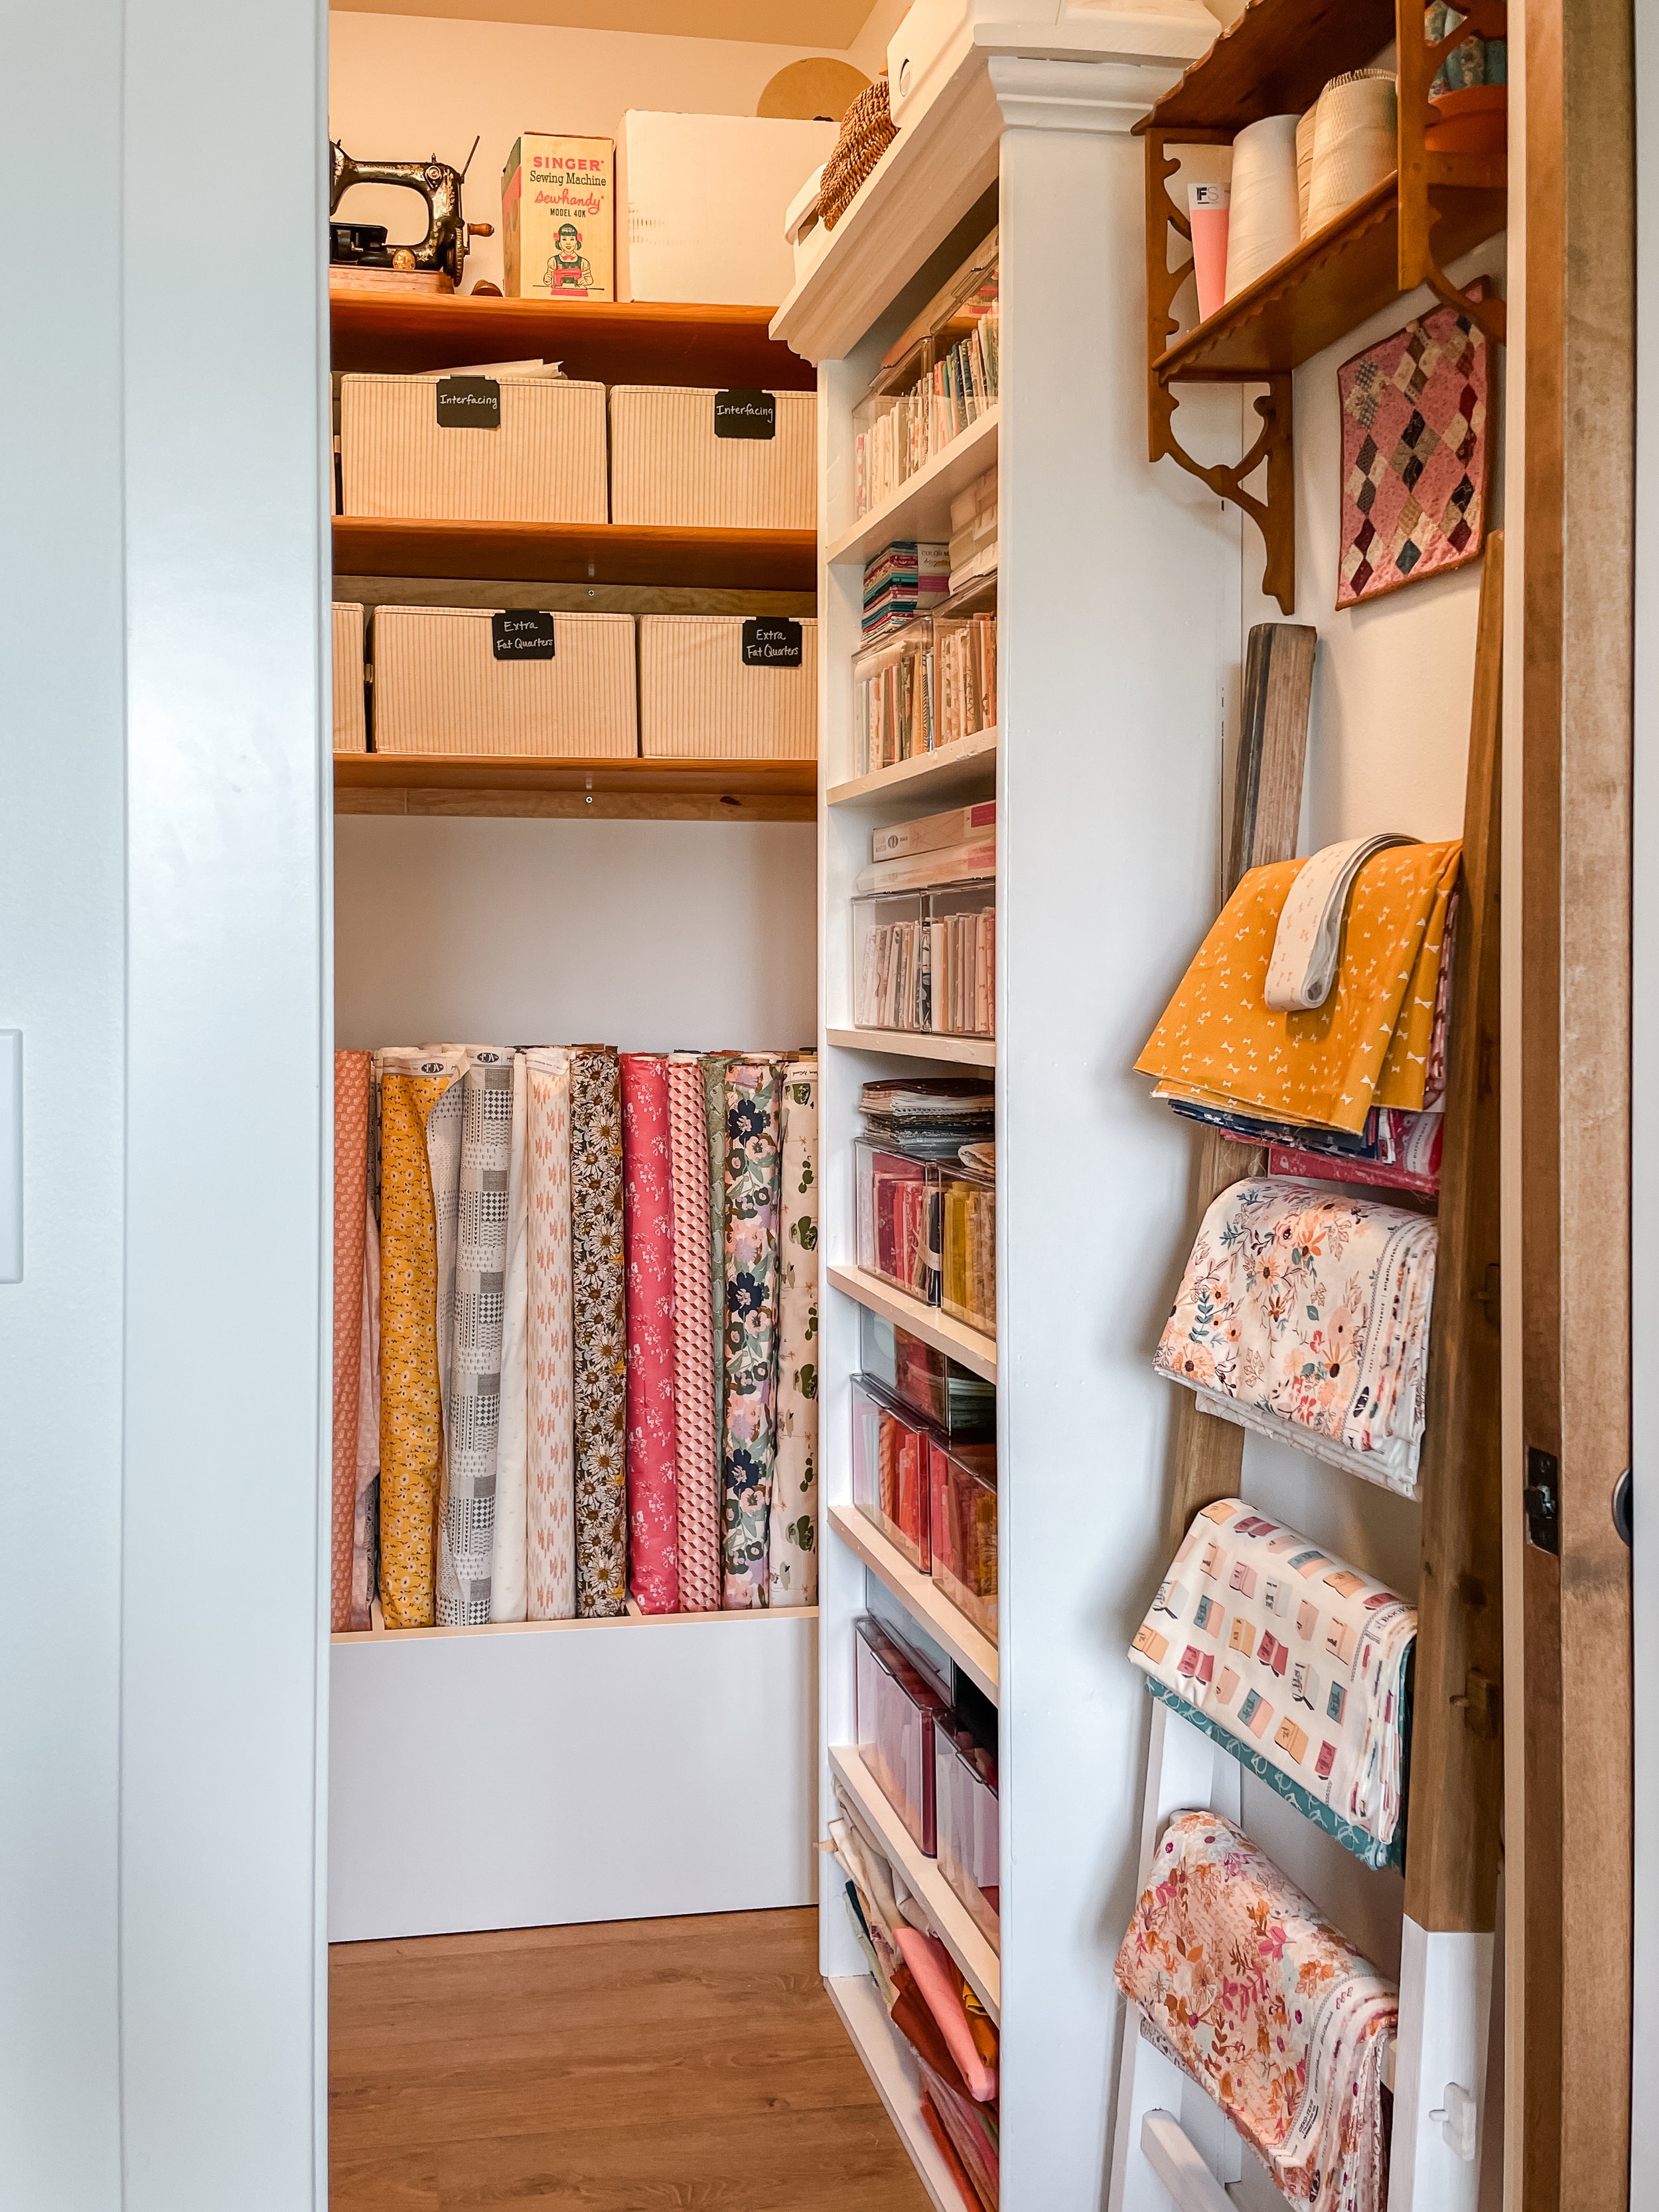
For my sewing room and the basement guest closet, I still needed upper shelving but also needed a way to organize and access my fabric rolls. The sewing room closet is a walk-in but only 5 foot wide by 5-1/2 deep. The pocket door saves having to have a door swing into the closet. The best solution was to take two IKEA Kallax bookcases and lay them down on their backs to create bins for my rolls to stand up in! I’m patting myself on the back for thinking this up all on my own. Luckily my husband could turn my idea into something real. He had to shorten one of the bookcases so it fit into the space and also used corner brackets to hold the two cases together. We left enough room before the first upper wall shelf to easily pull out fabric and then added in linen closet-style salvaged shelving above the bins for basket storage.
Ta-da! This is my closet with roll bins on bottom and wood shelving above for baskets. I found some nifty plastic clip-labels that fit on almost any basket. You can write on the plastic with wipe-off chalk markers to label the basket contents.
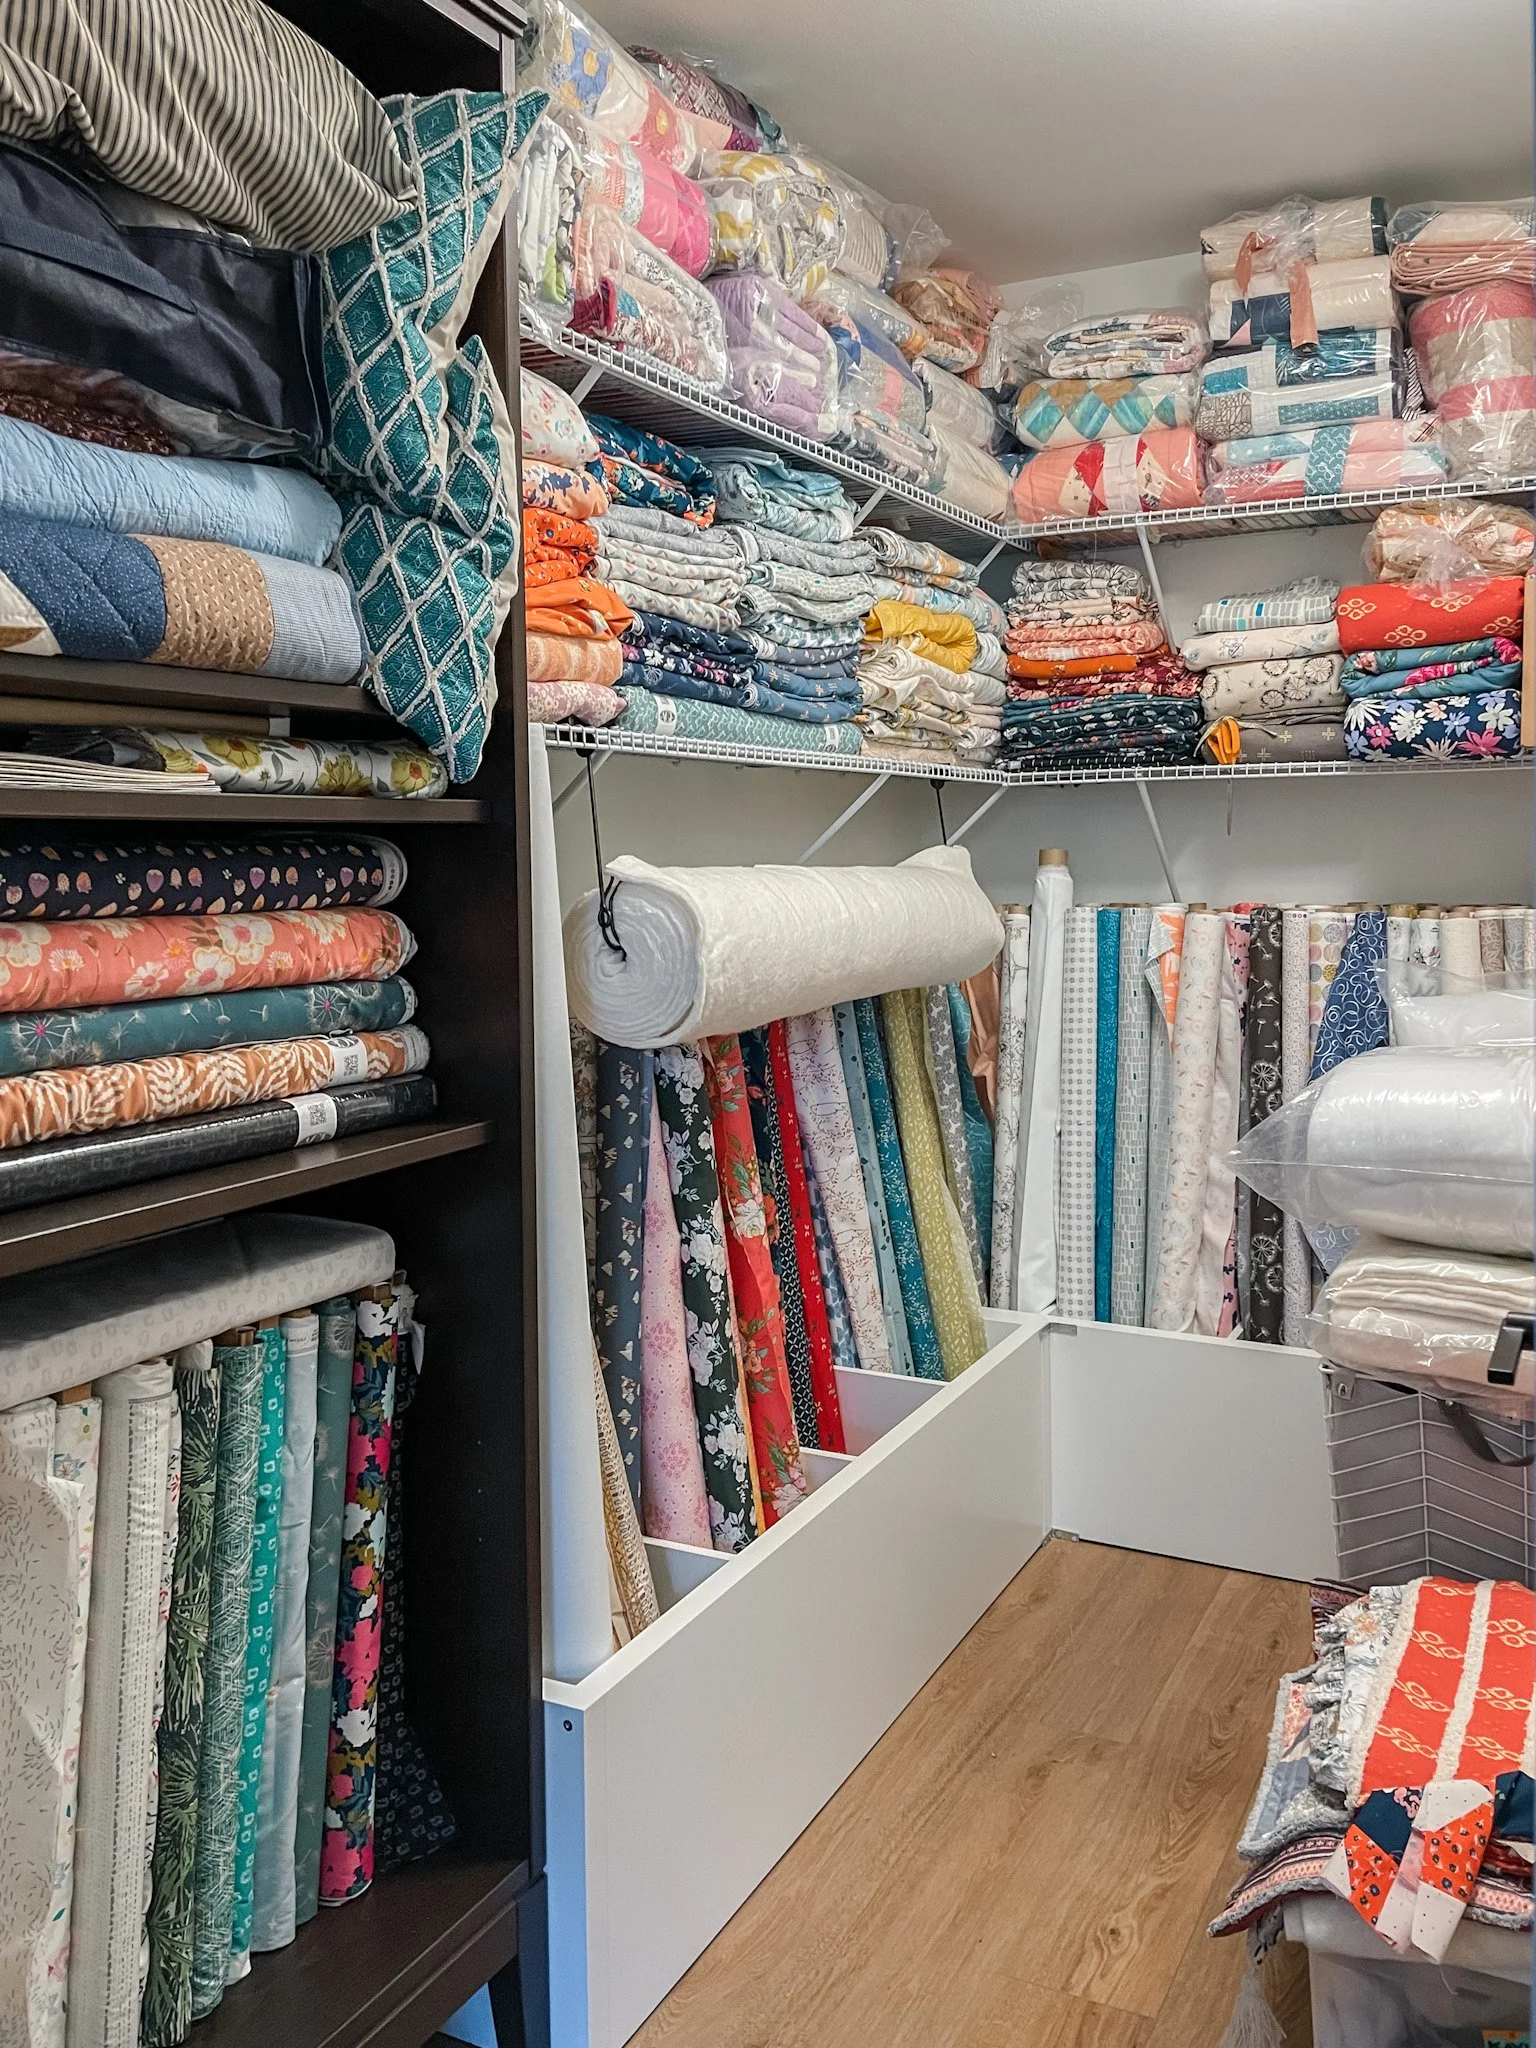
The basement fabric closet (below and not as fancy as upstairs) is the same sort of idea but we did go with wire shelves above to save some time and money. Here I’ve added a free standing IDANÄS bookcase from IKEA for the few bolts of fabric in my stash. My first choice would have been to get a white bookcase but that was out of stock so stained wood it is and it’s just as functional.
All my knit, rayon, and canvas prints are stored on the lower shelf and quilts for my shop when I have another quilt sale are safely stored above. Two over-the-door hooks are hooked onto the wire shelving and hold a roll of Hobbs Tuscany Premium 100% Cotton Batting.
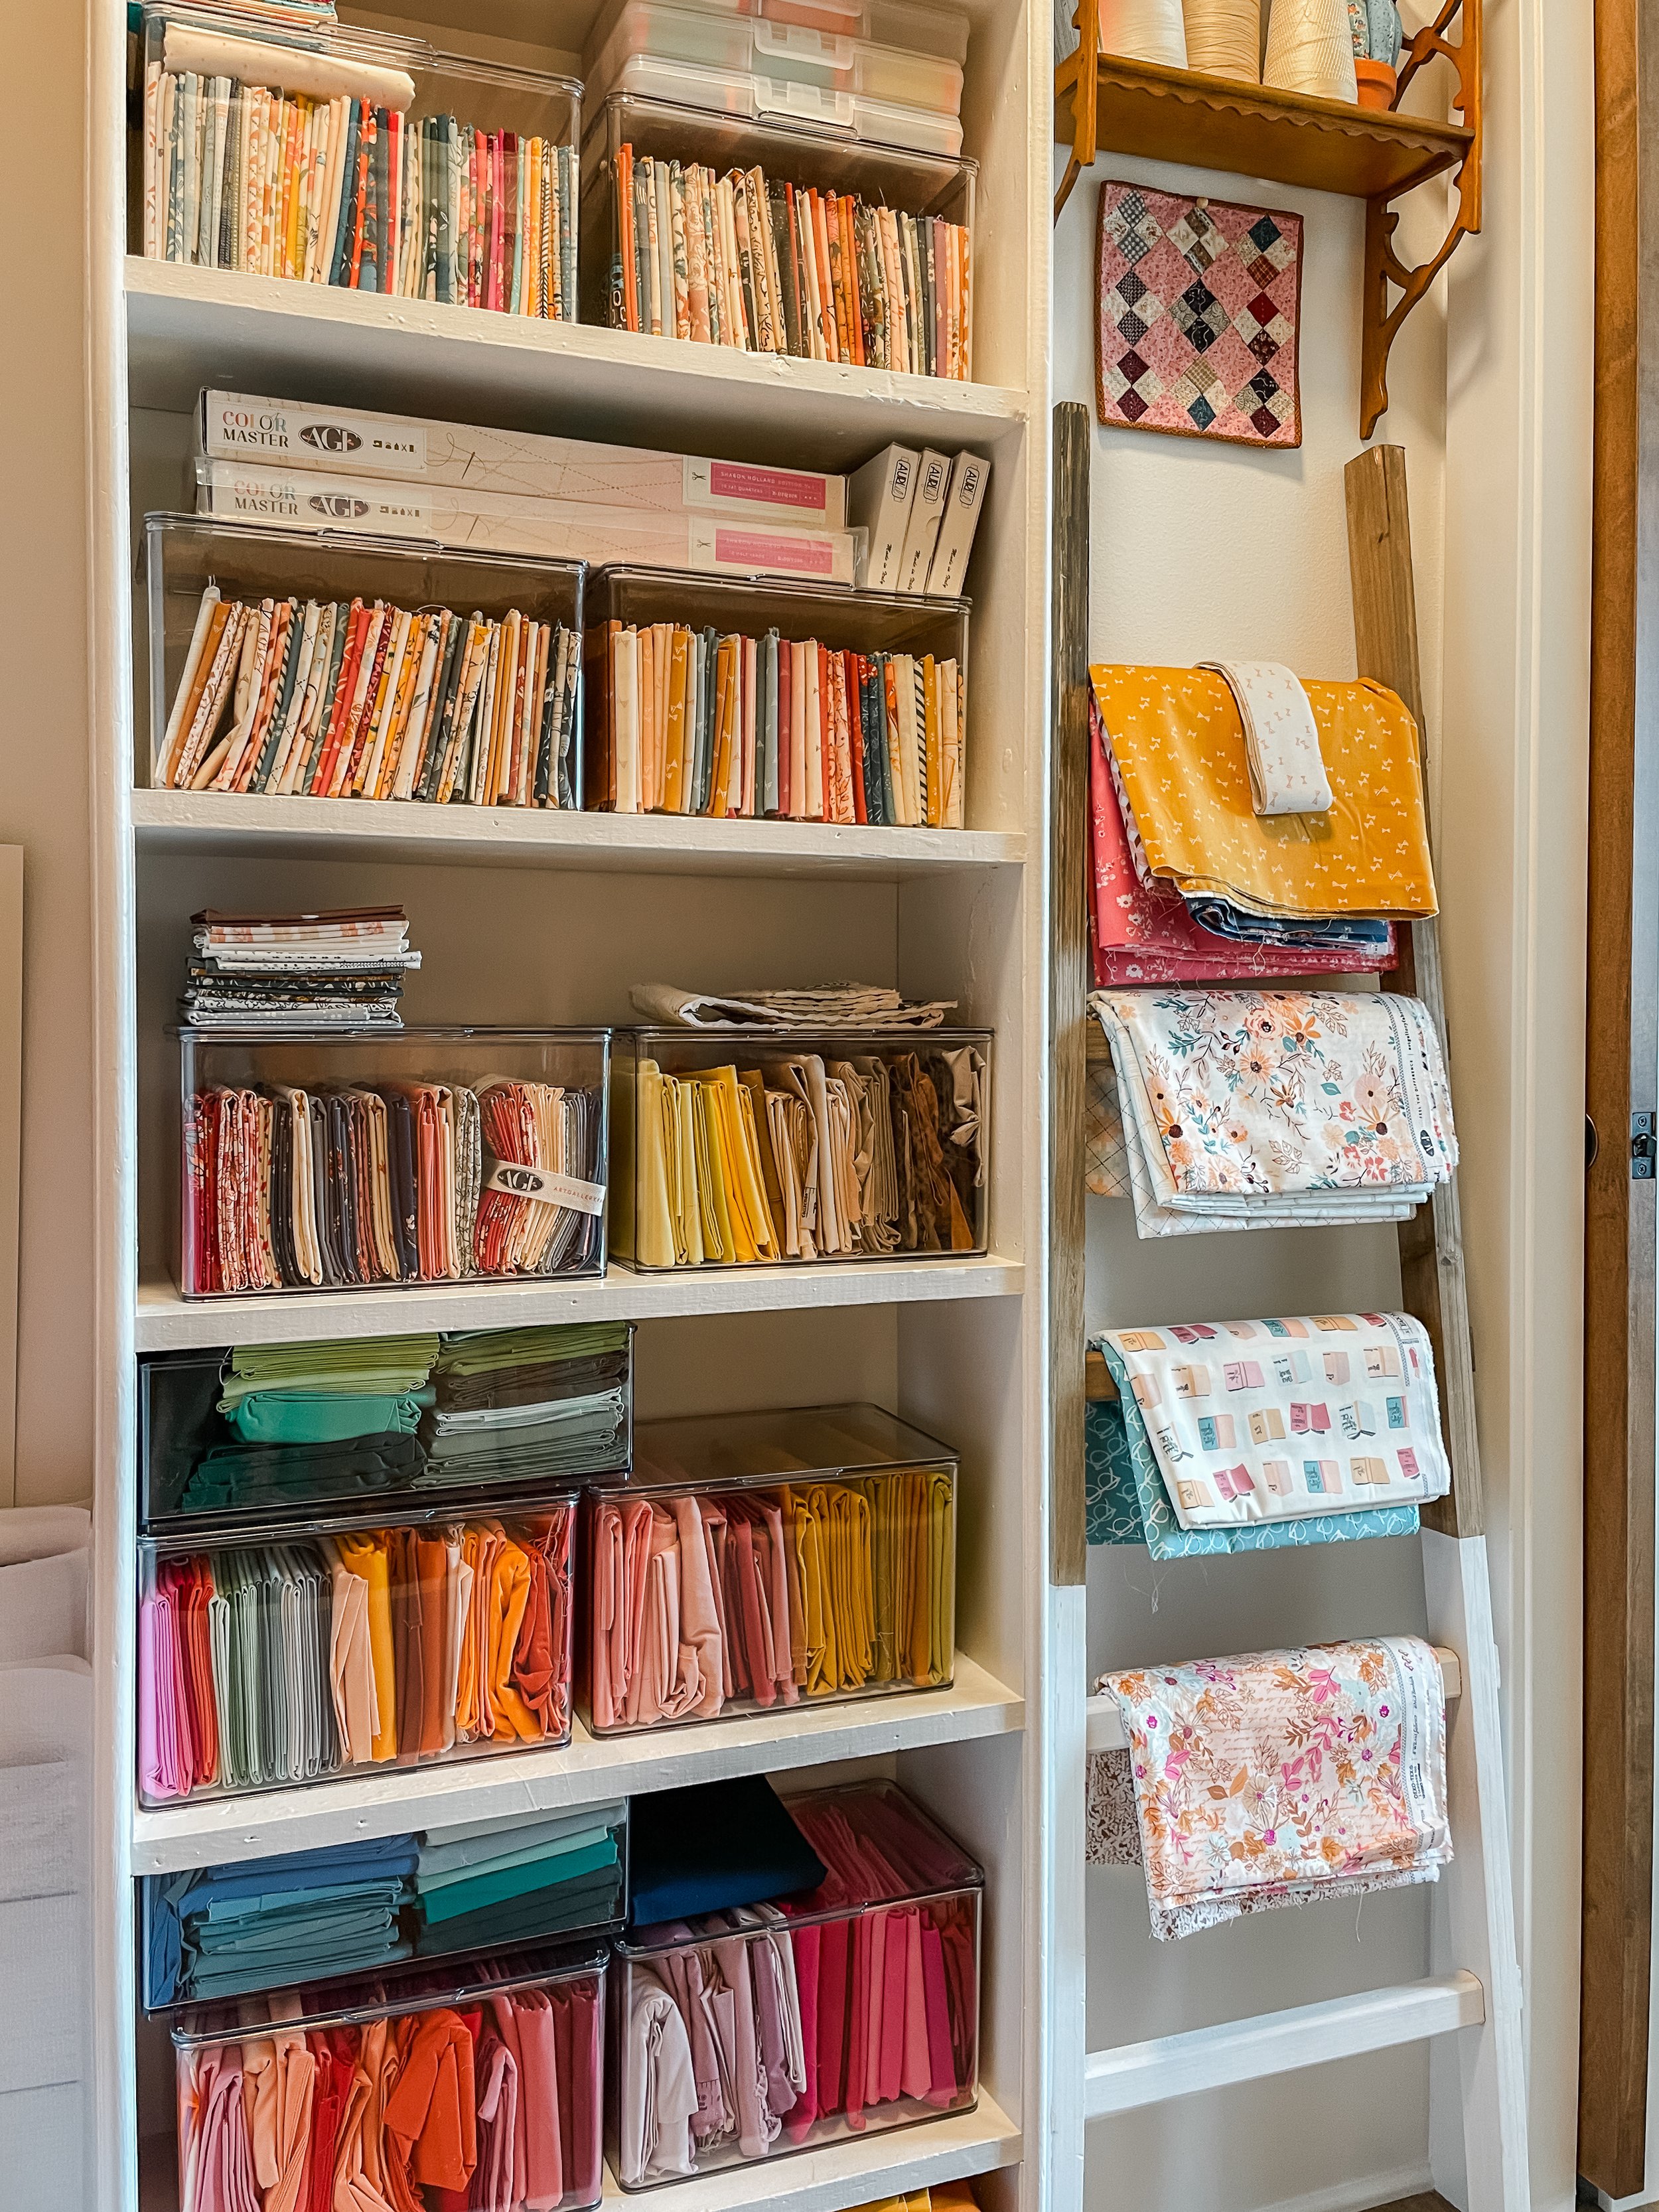
Another organizational feature to my new closet in the main floor Sewing Room is the antique bookcase that holds my fat quarters. I repainted the bookcase the same color used for my walls and trim and we secured it to the wall for good measure. This narrow and over 7 foot tall bookcase was perfect along the closet walkway wall because it still ample left room to work and move within the closet and I can still use a step ladder to access the upper shelves but now I have a space to hold a fat quarter from every one of my bolts plus my stash of AGF Pure Solids to have a library of my fabrics at a glance.
To use every inch of the bookcase I needed bins for the collections and go vertical in the fixed shelves. The bins I found online through Target and are made by mDesign. Since I could not move the shelves of my antique bookcase I had to find the right size bins to maximize the space. Luckily these hinge lid bins come in an array of sizes. I chose the 7" x 11" x 6.5" size that came in a pack of 4 for $48. Now, I can stack stuff on top of the bins but still easily get to what I want even if I have to move a few things around.
This size bin holds 32-36 fat quarters without being stuffed. The bin you see in the photo above has 16 fat quarters and 16 half yard cuts from my Kindred collection.
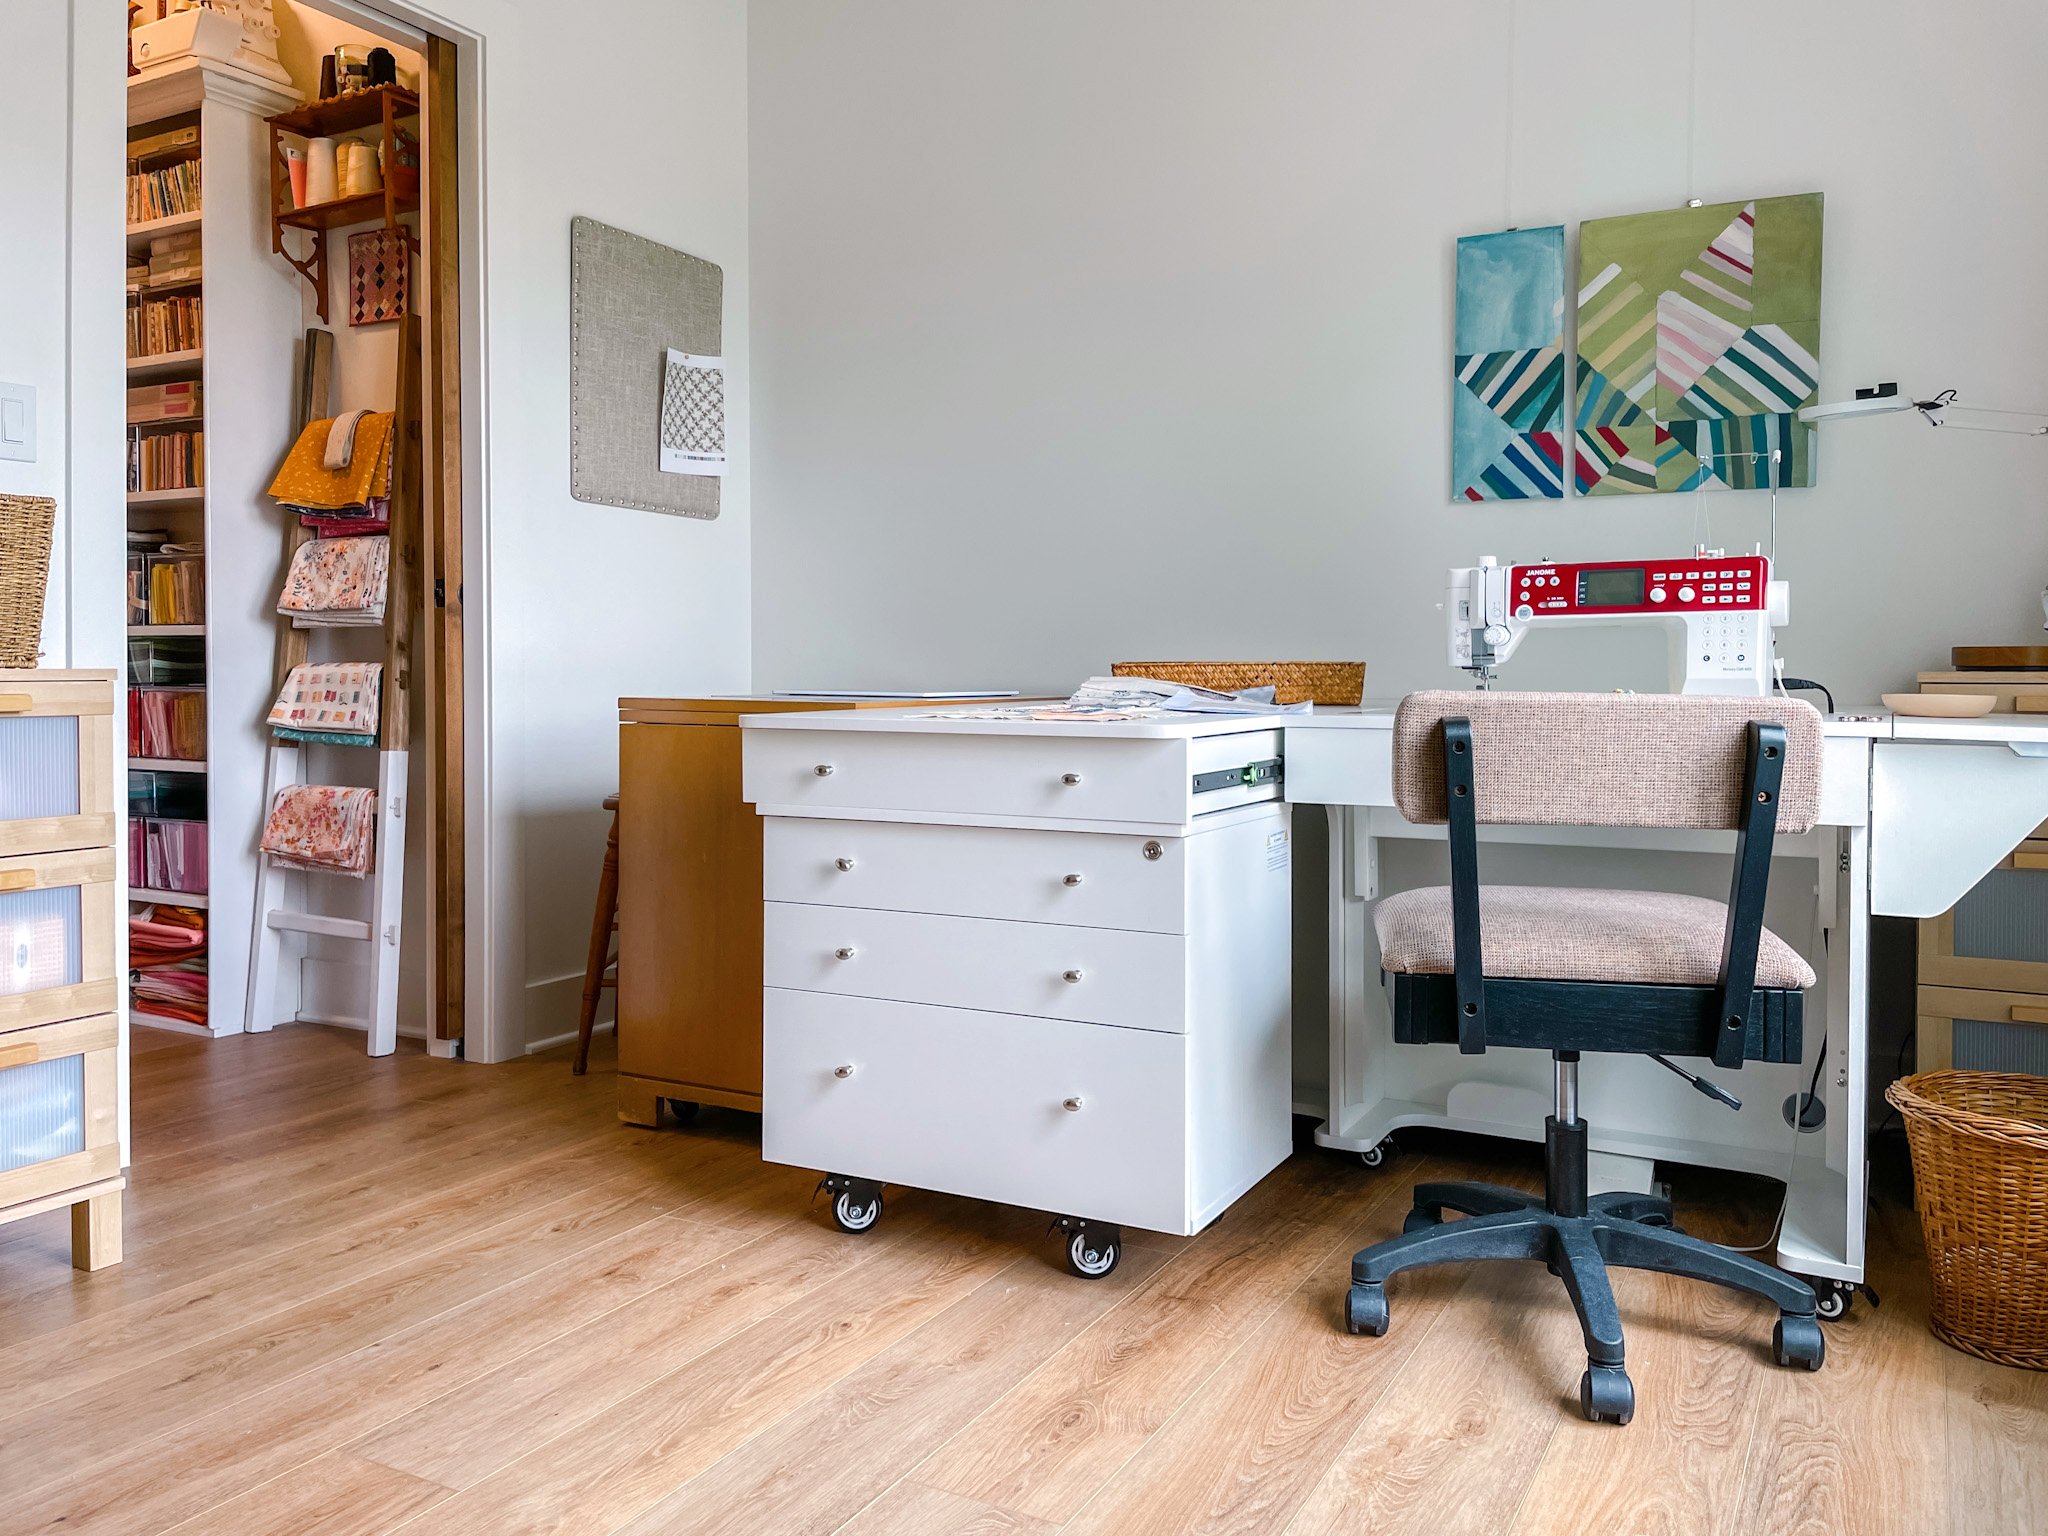
Again, I have downsized my spaces and that includes that my sewing room is much smaller than the guest/sewing/photo studio space I had in my last home. This room is dedicated just to sewing and does not need to be multifunctional. I do miss the extra elbow room but am able to still be just as creative and productive in the new room—I just need to be very smart about how I use the space. Luckily, I have my wonderful Kangaroo and Joey Arrow sewing cabinet that’s very large and reduces the need for me to have a lot of small pieces in the room. I have my mom’s cutting table besides it to make one large work surface and have extra storage for sewing notions and tools within these cabinets. Two IKEA nightstands (we almost donated before moving) hold additional fat quarters and other than an ironing board (not shown), that’s it in my less the 10 foot square room.
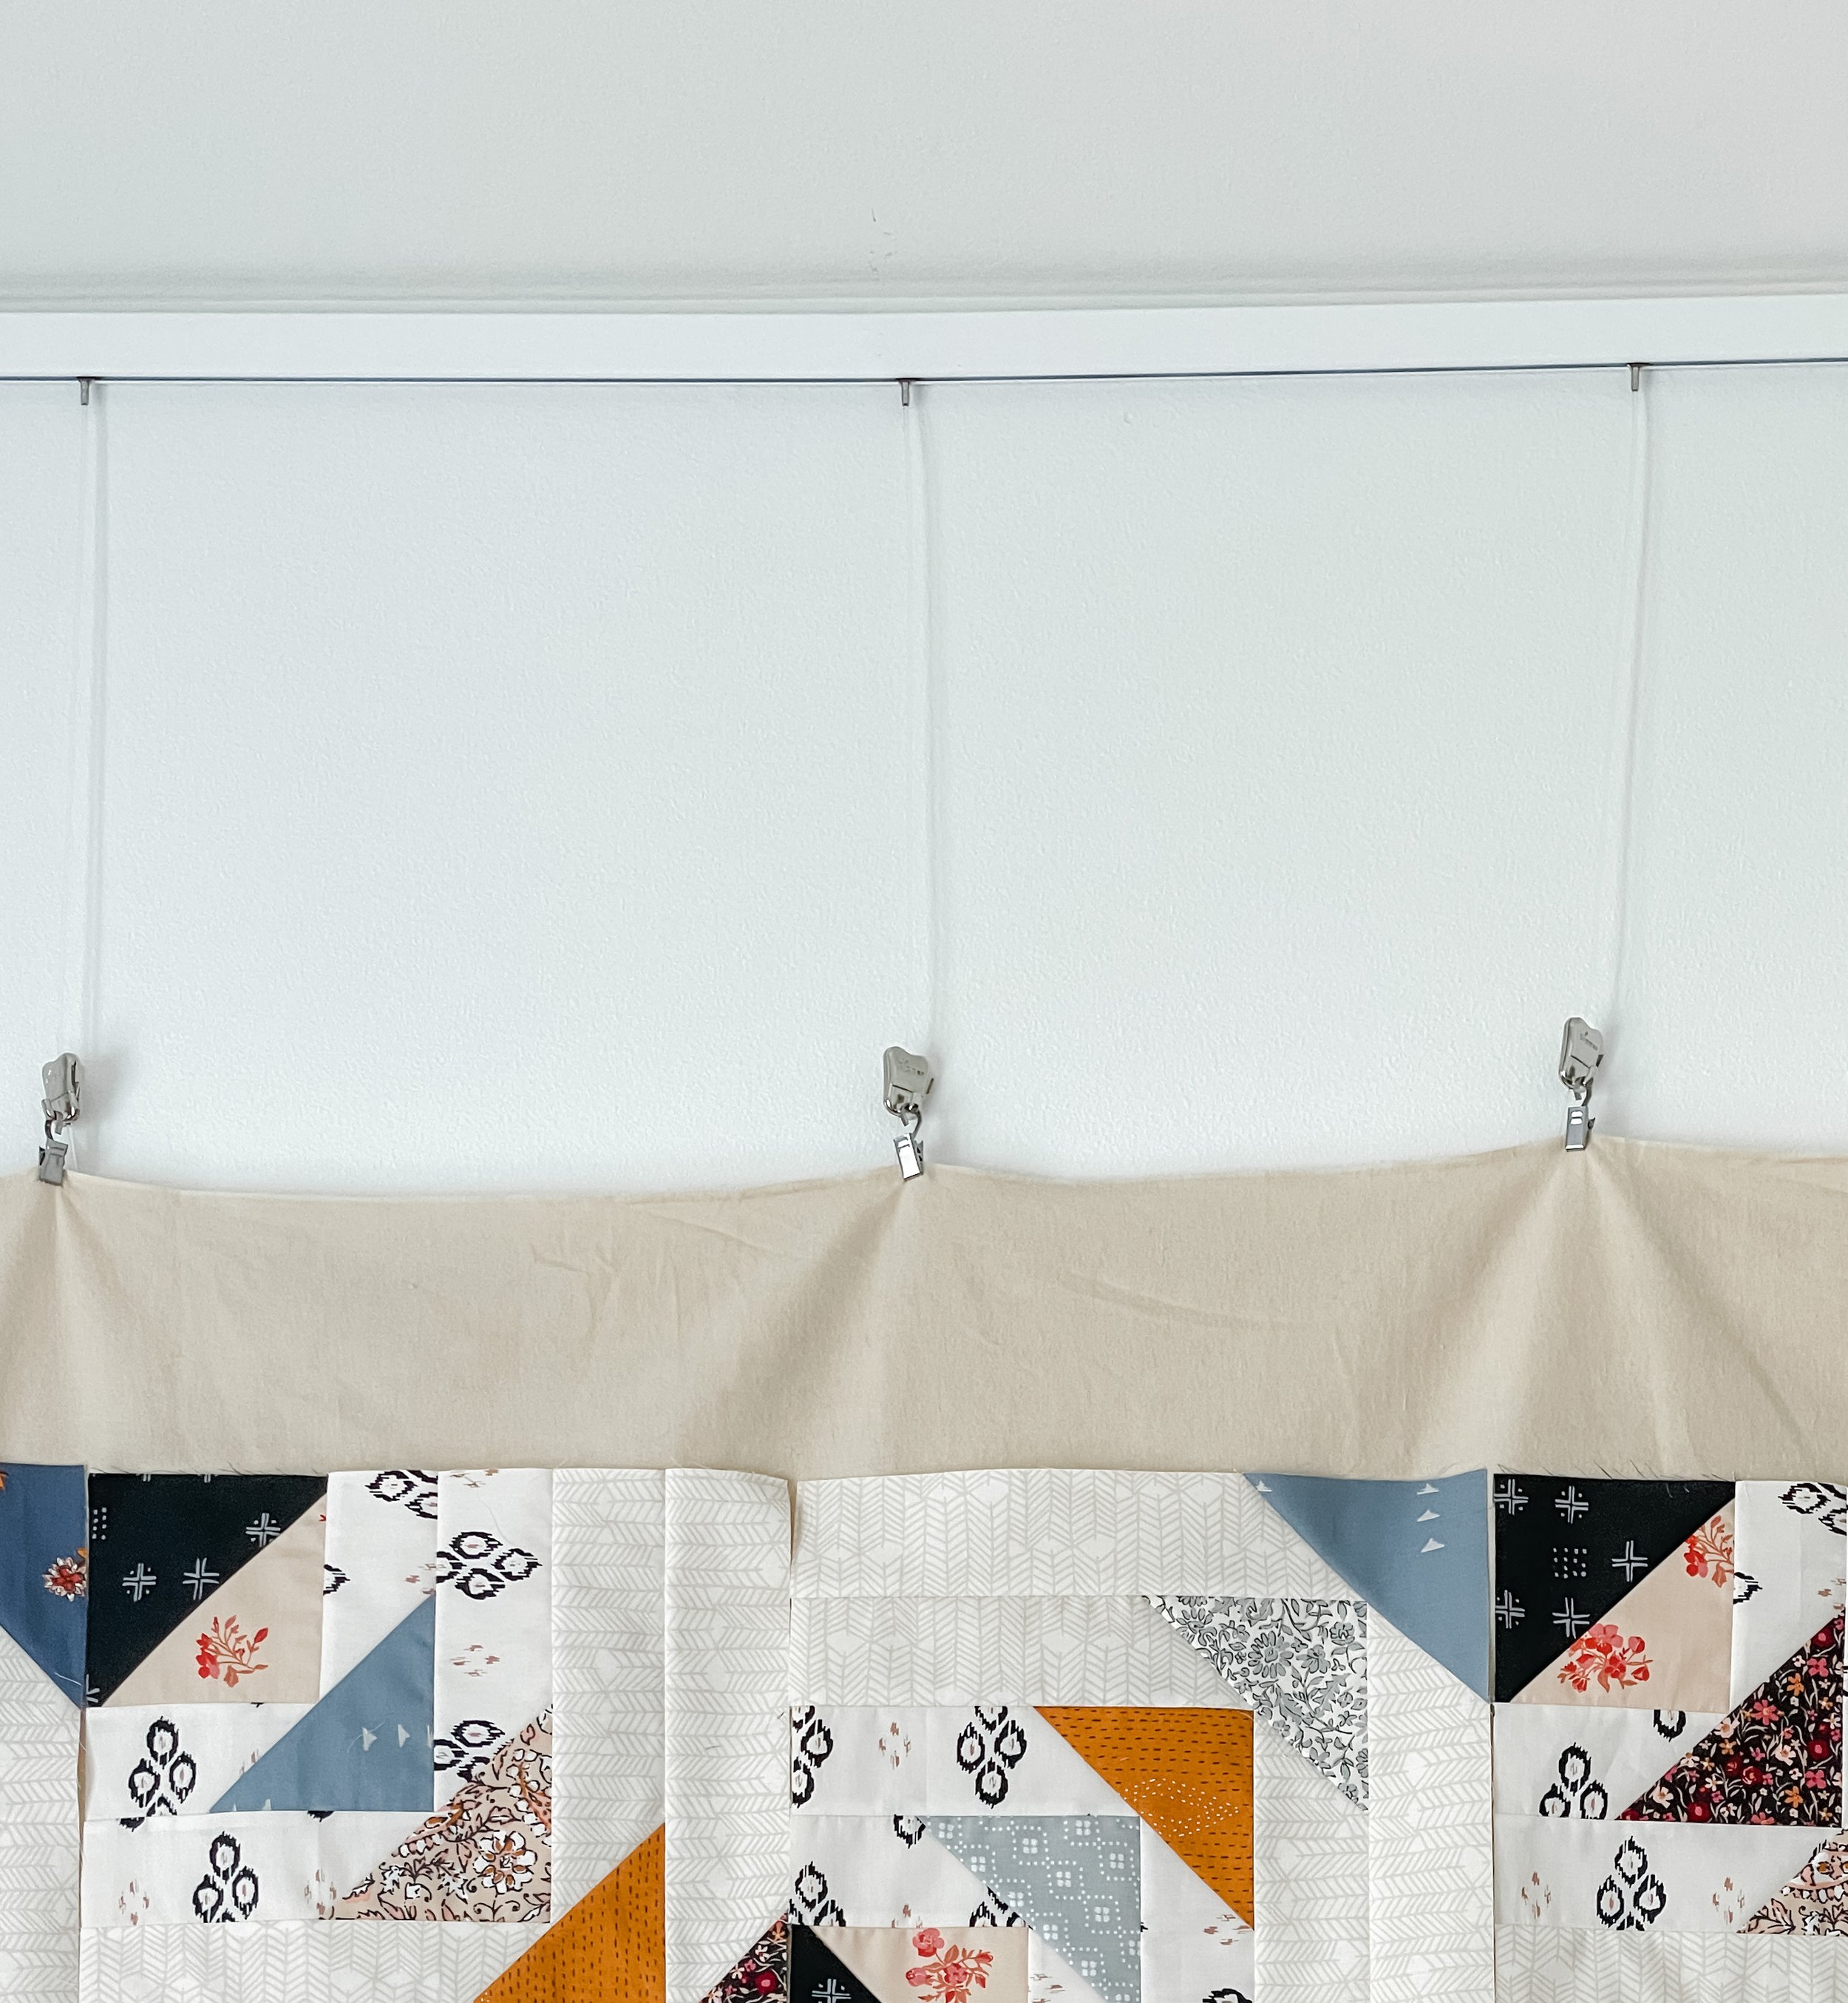
One feature of my last house that I knew I wanted to have installed again in my new sewing room is a picture hanging system. The last house we added traditional Picture Rail molding because the house was well, more traditional. This house, the molding is very clean and although Craftsman-like it has a more modern look. I decided to go with the STAS picture hanging system of modern painted metal that’s reminiscent of what you’d see in an art gallery. I use this to hang any pictures and my design wall on the two walls that have open wall space.
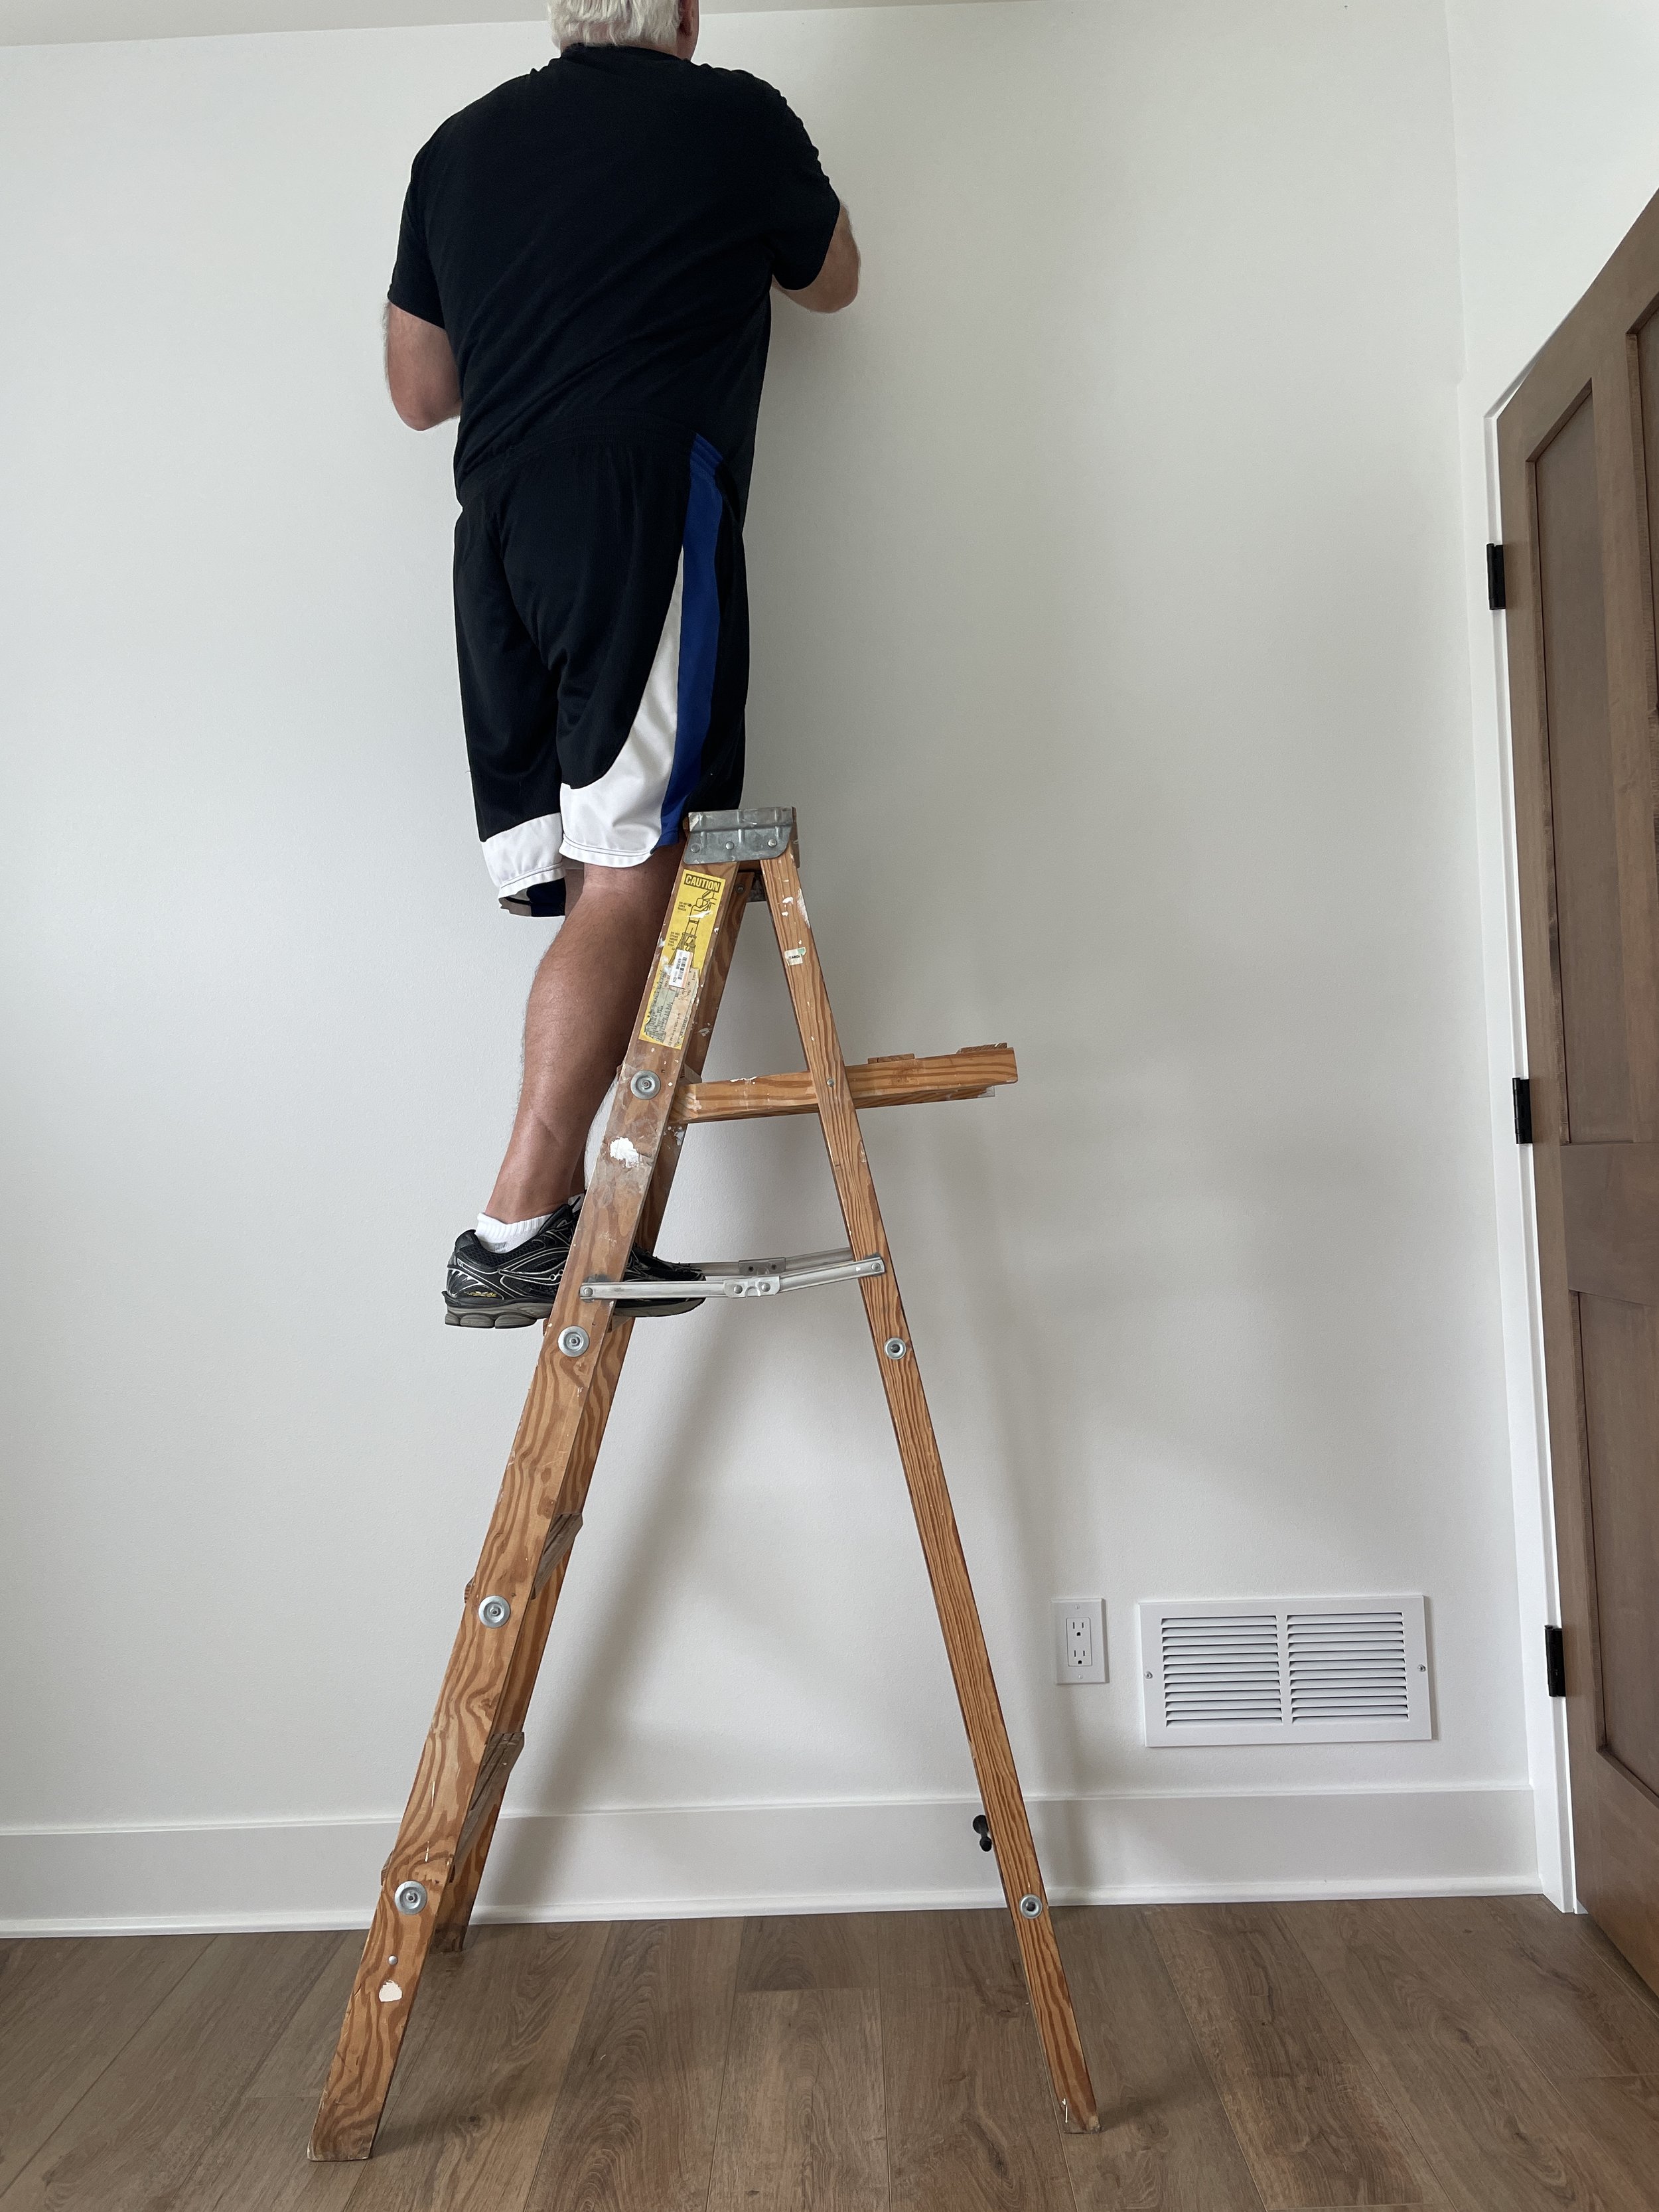
This STAS system was an easy install and hubby had it up in about a half hour by finding the studs and securing the screws and hardware that came with the kit. Clear nylon cords hang from clips that attach in the track and zipper hooks slide up and down the cord so you can hang pictures or things at any height along the cord without needing to put holes into the walls. Best thing is your stuff can be moved anywhere along the track system that’s been attached to wall.
I’ve added some simple curtain clips to the zippers so I can clip up a flannel design wall. This does give me more options in my room and the ability to take down and change up decor or functions as needed! Spoiler alter—you’re getting a sneak peek at my next upcoming pattern release! Yes, if all goes well, later in August I’ll be releasing pattern number 57 in my SHOP! It’s called Chicago Geese and will come with six quilt sizes ranging from crib to king. The sample on my design wall above is for the twin size and is a mix of my Kismet and Kindred sister collections with the addition of my Venture print from the Vert Fusions collection. More details on the quilt pattern to come in a blog post but you can follow along on Instagram @sharonhollanddesigns for more instant updates.
I hope you found some ideas to solve some of your sewing room organization problems. No matter what size space you have to work in, good organizations will help you be more productive.
I am an Amazon Associate site and earn from qualifying purchases on the products I’ve linked below. The helpful products selected are the same or similar to materials used to make the project(s) in this blog post or related items I think you may enjoy.

